


Flat Fee
A
Ana Alves
Updated: Mar 10, 2024
Description
Click through a step-by-step, interactive demo walkthrough of StoriiCare.
Steps
1
Click here.
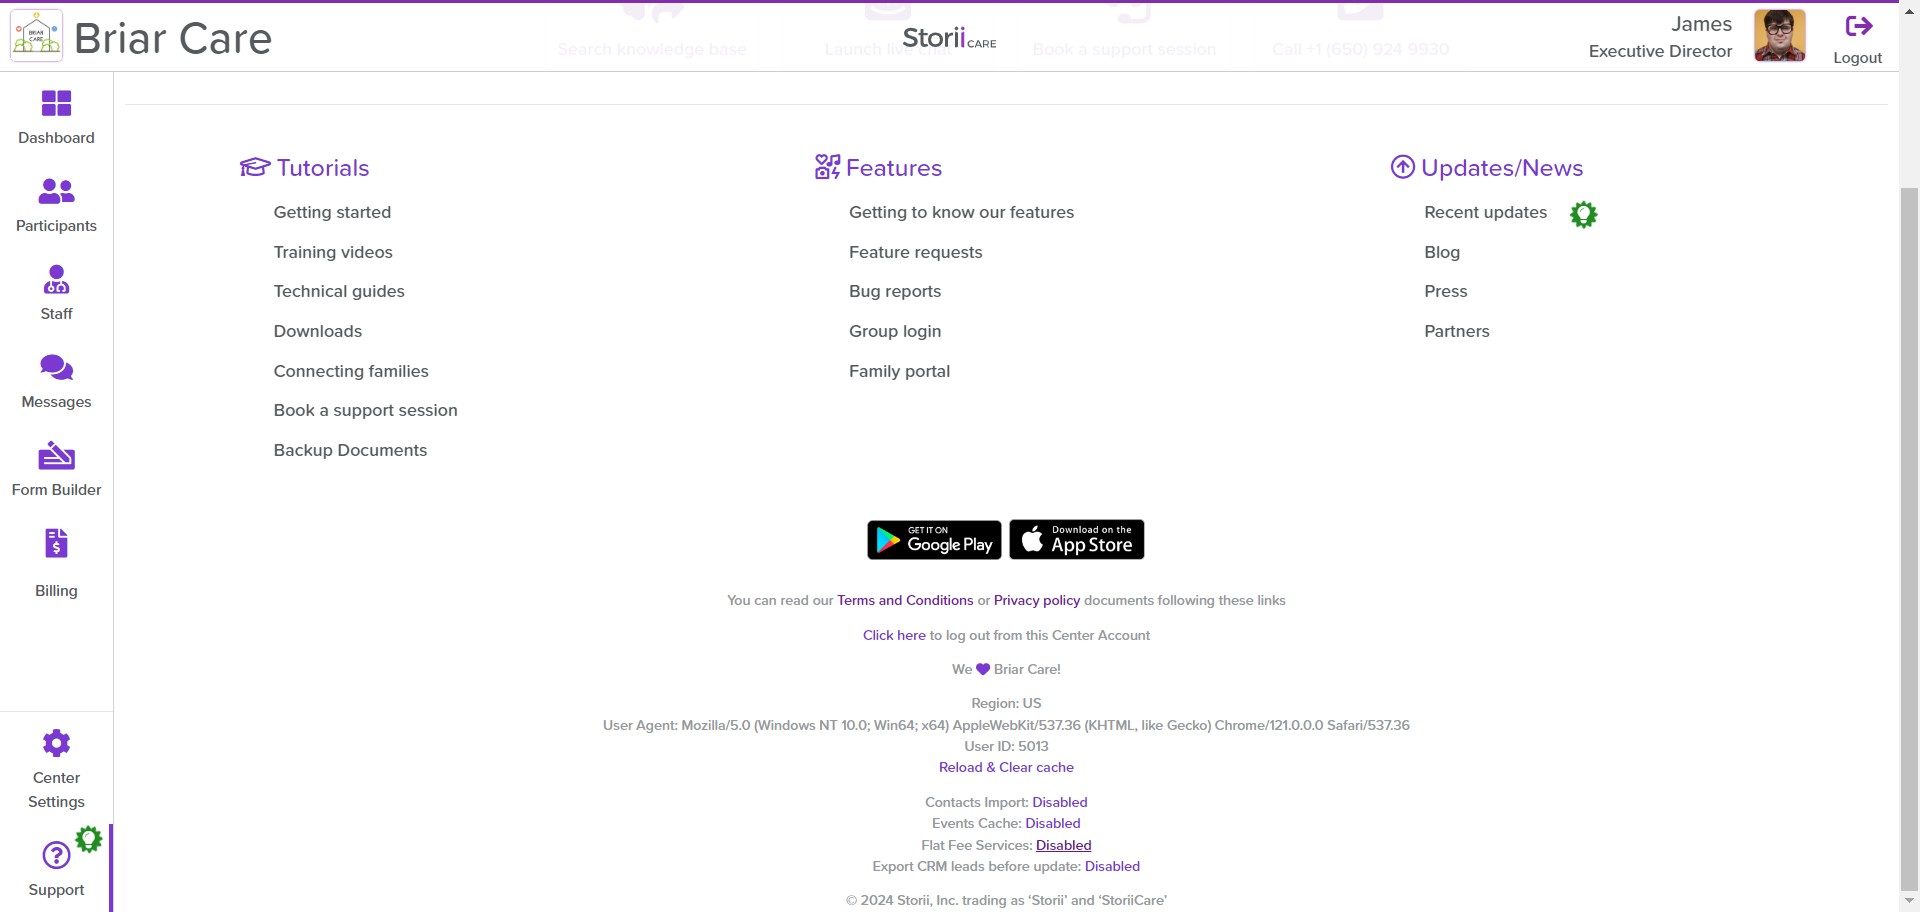
2
Click on "Support" 9 times to turn on the feature configuration.
3
Video step
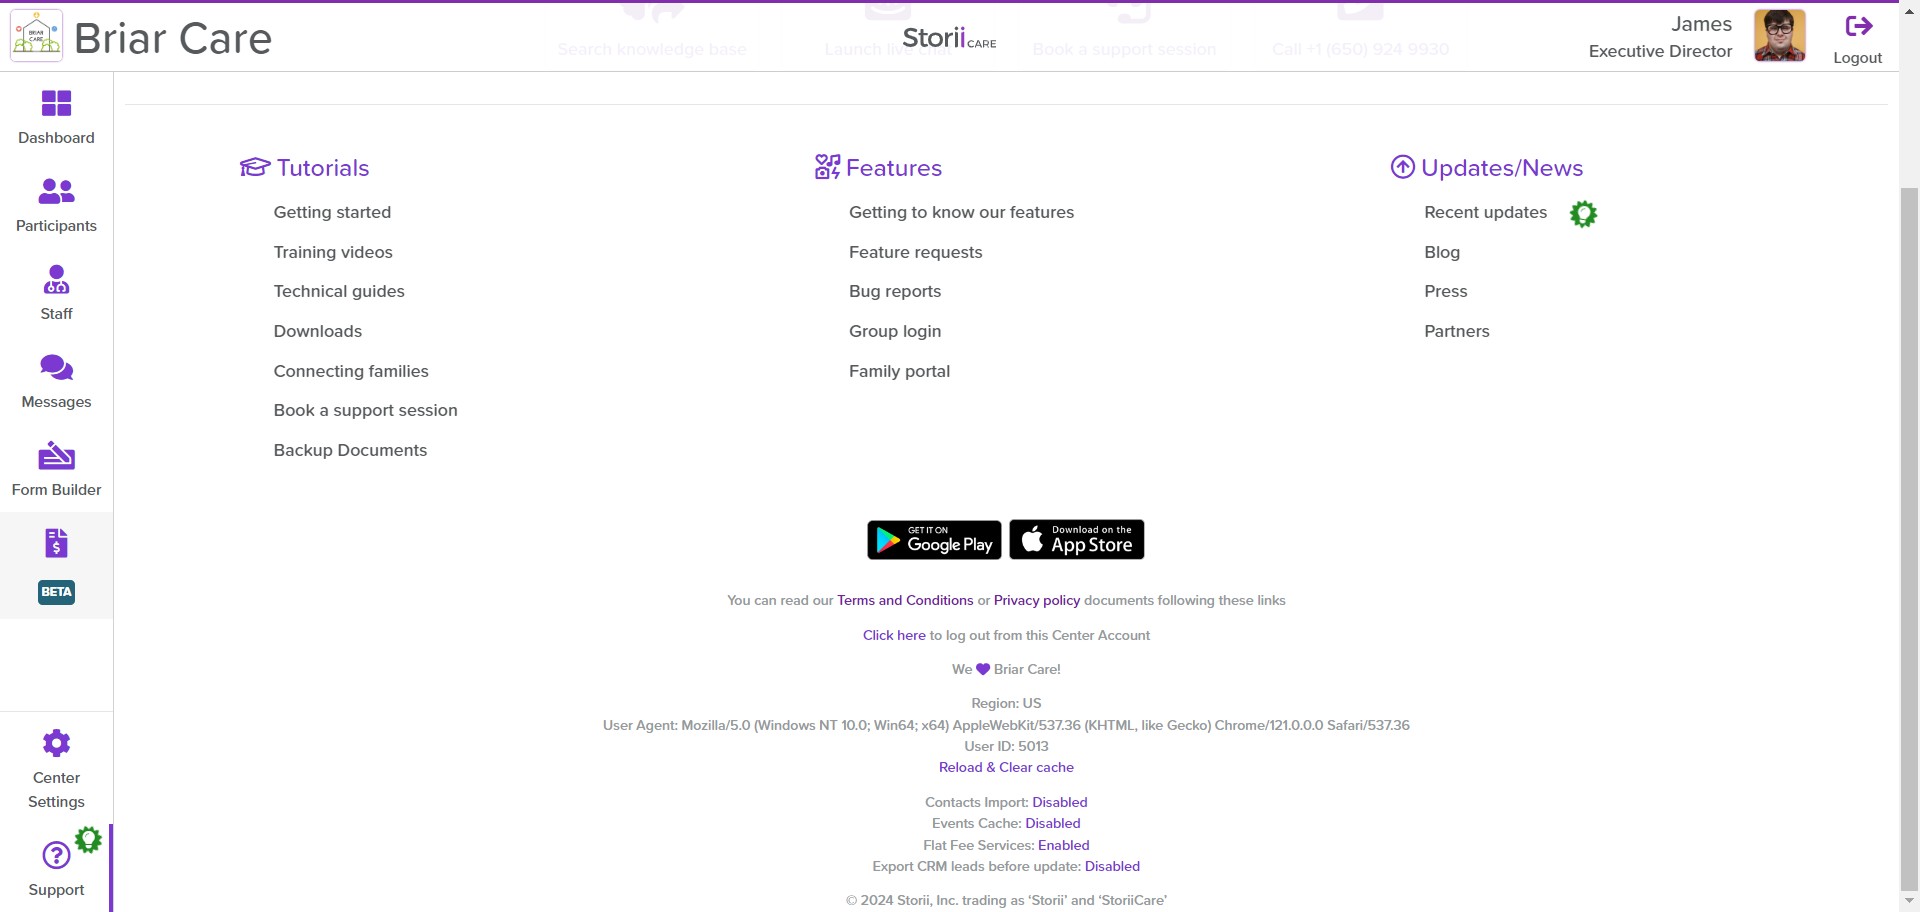
4
Once that's done, click on "Disabled" by the side of "Flat Fee Services" to change it to Enabled.
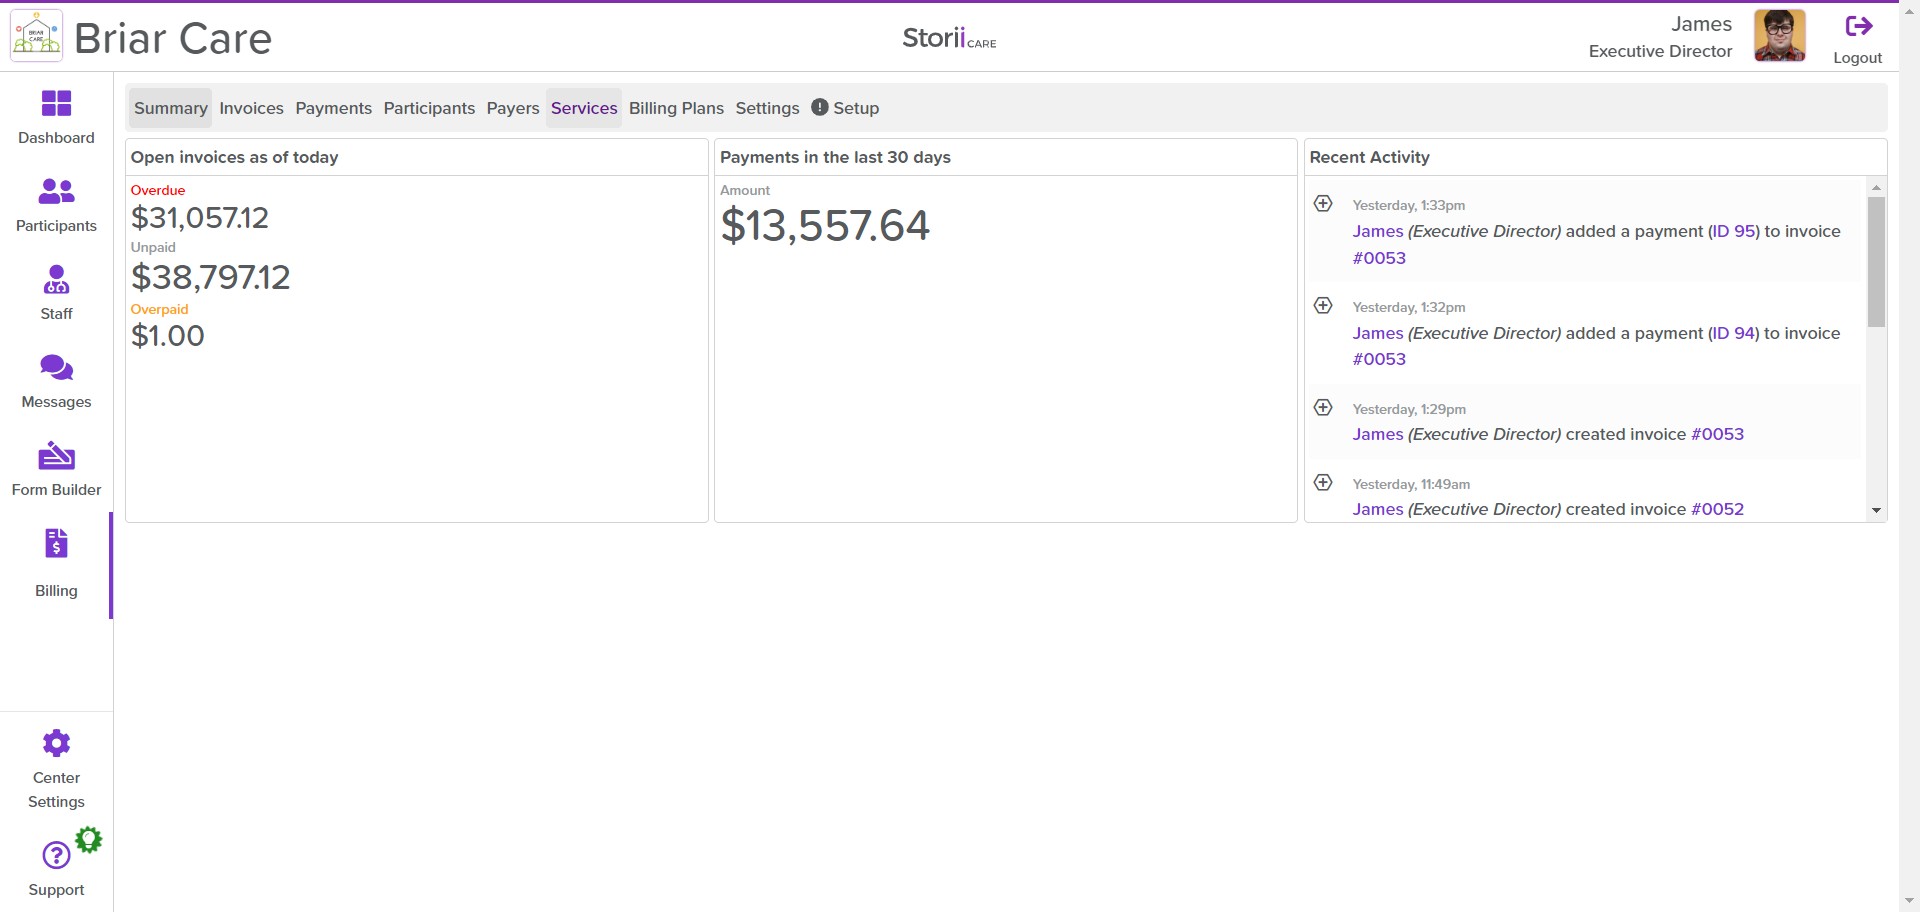
5
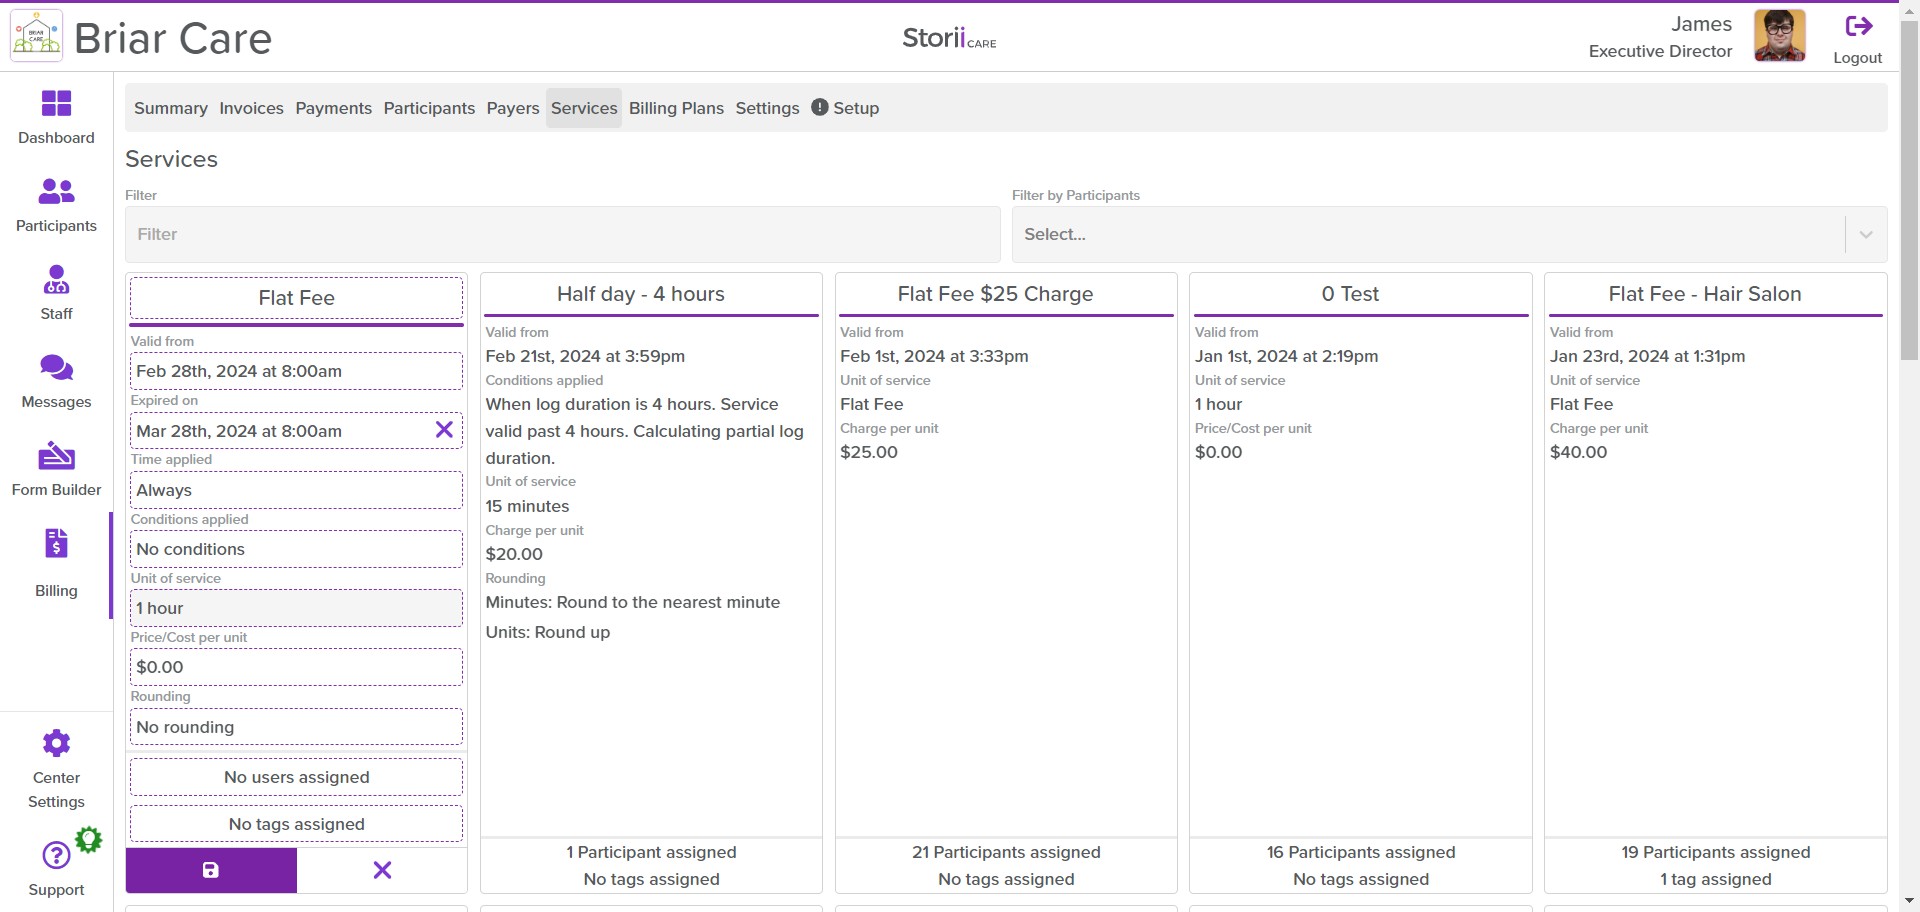
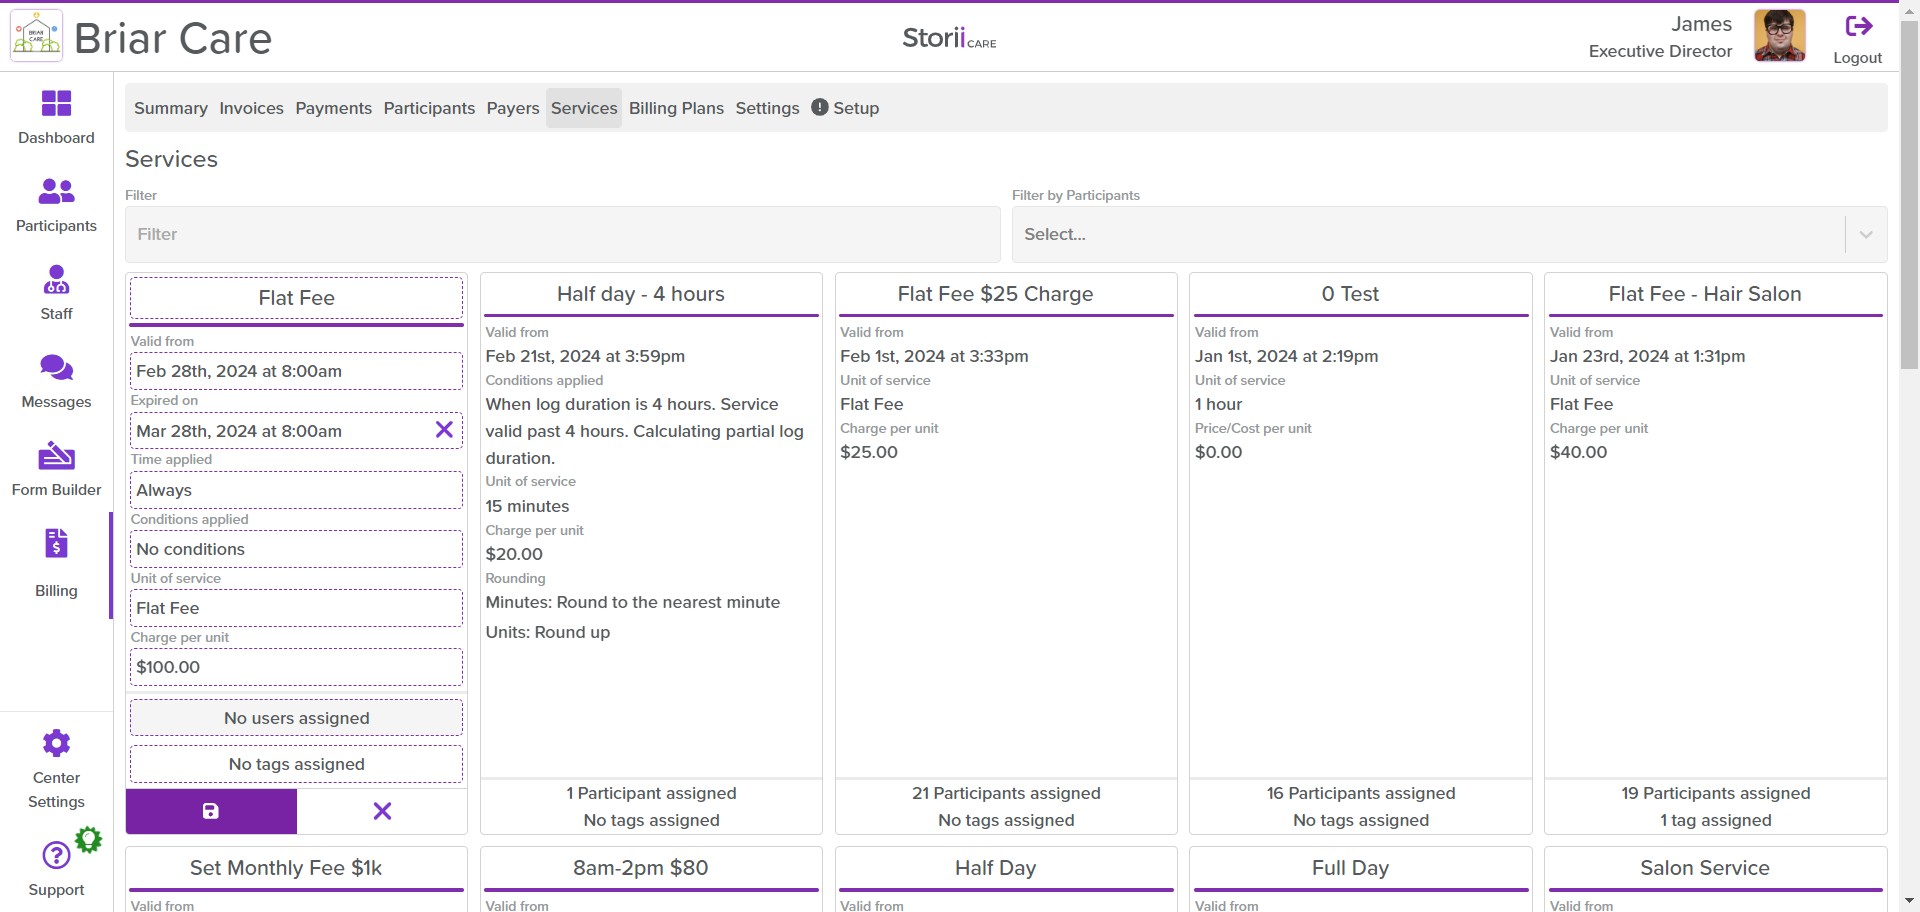
Click on the Billing feature.
6
Video step
7
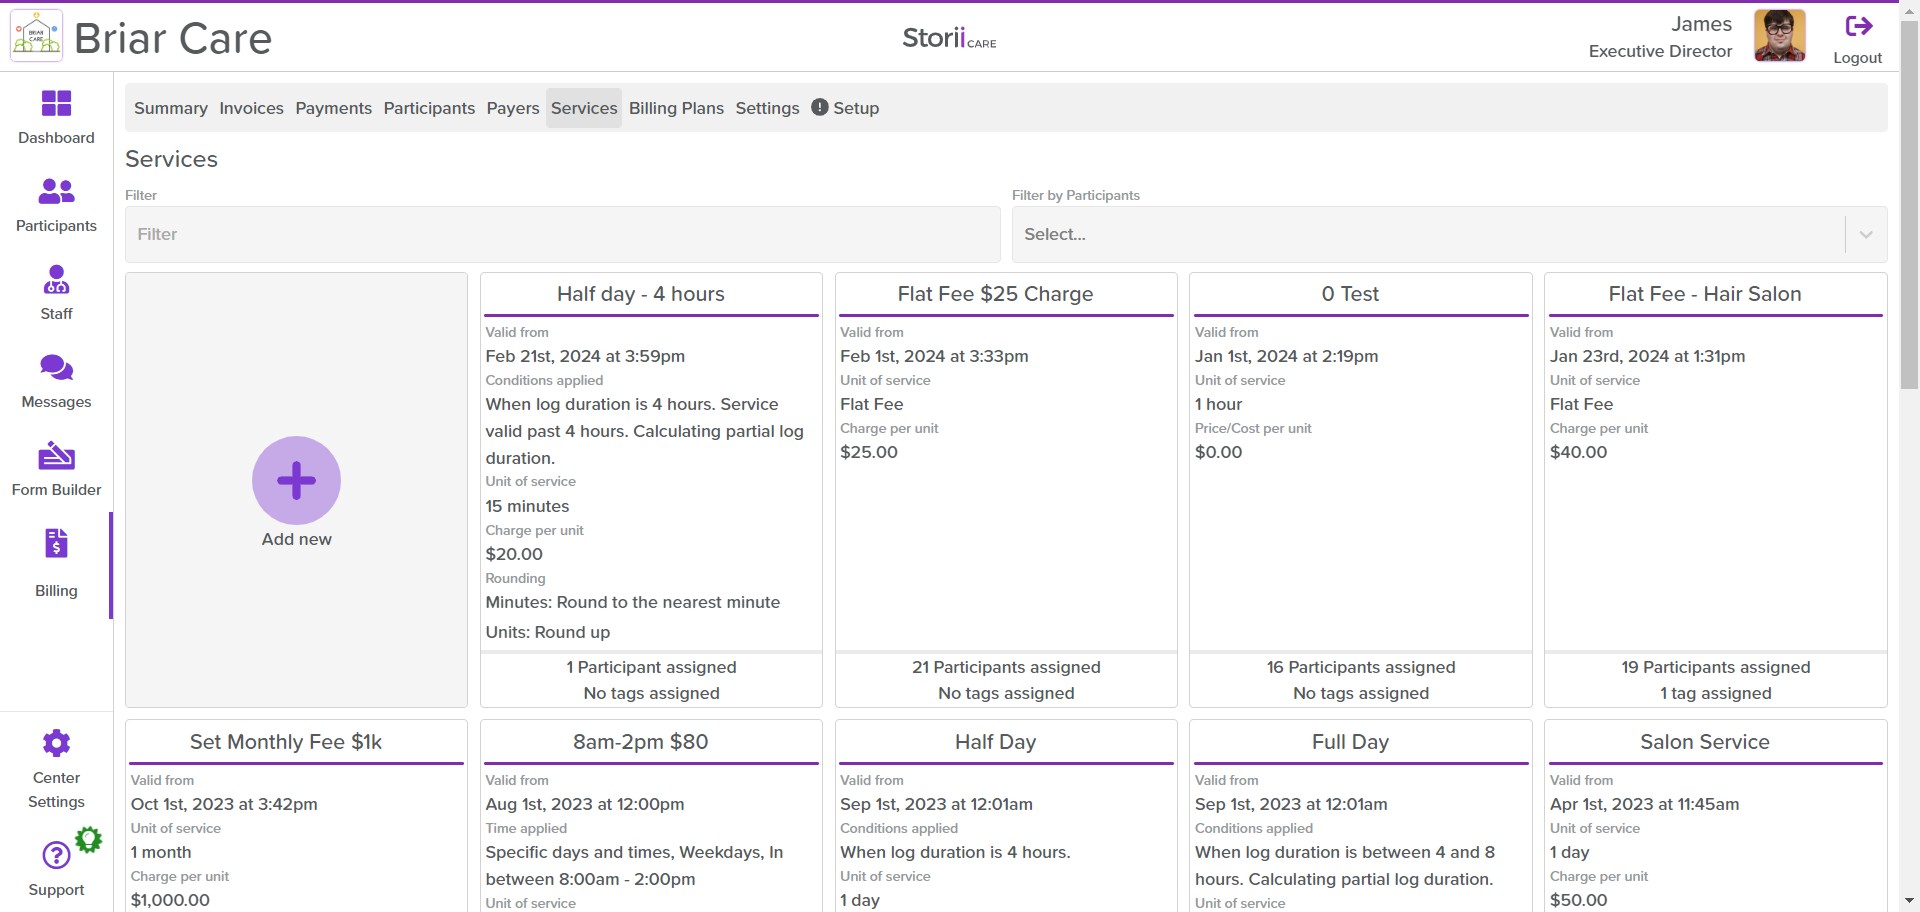
Click on "Services".
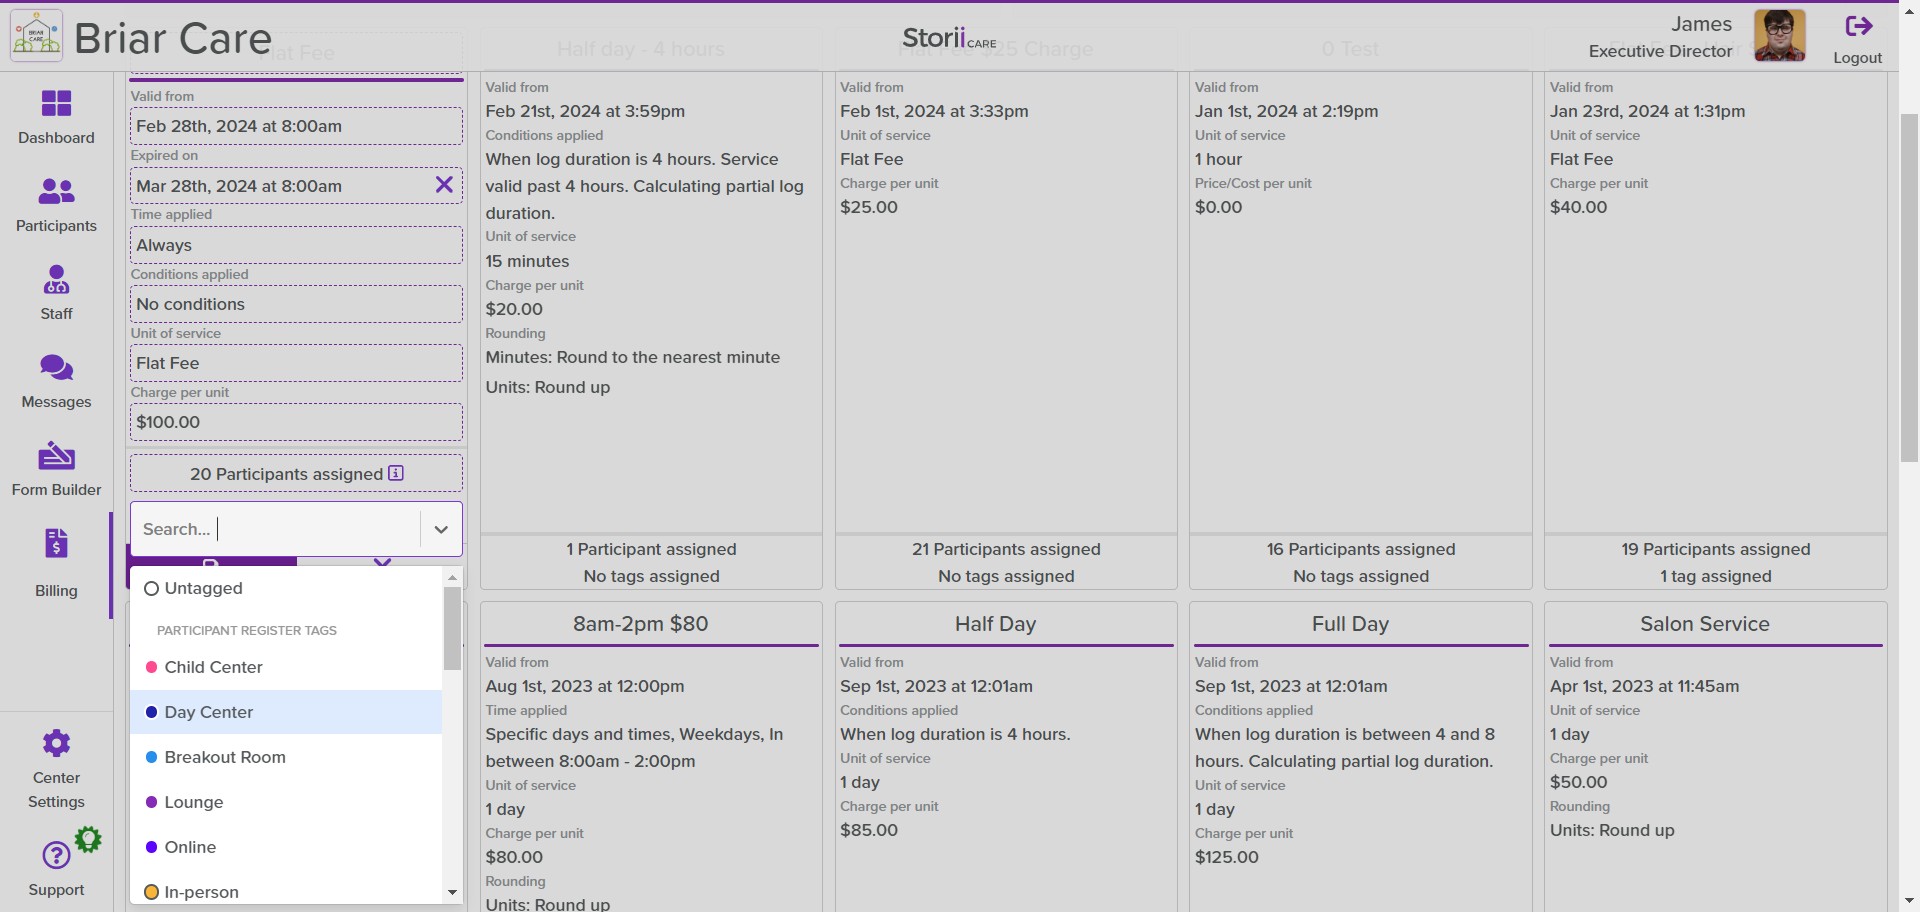
8
Then, click on the "Add new" icon to create a new service using Flat Fees.
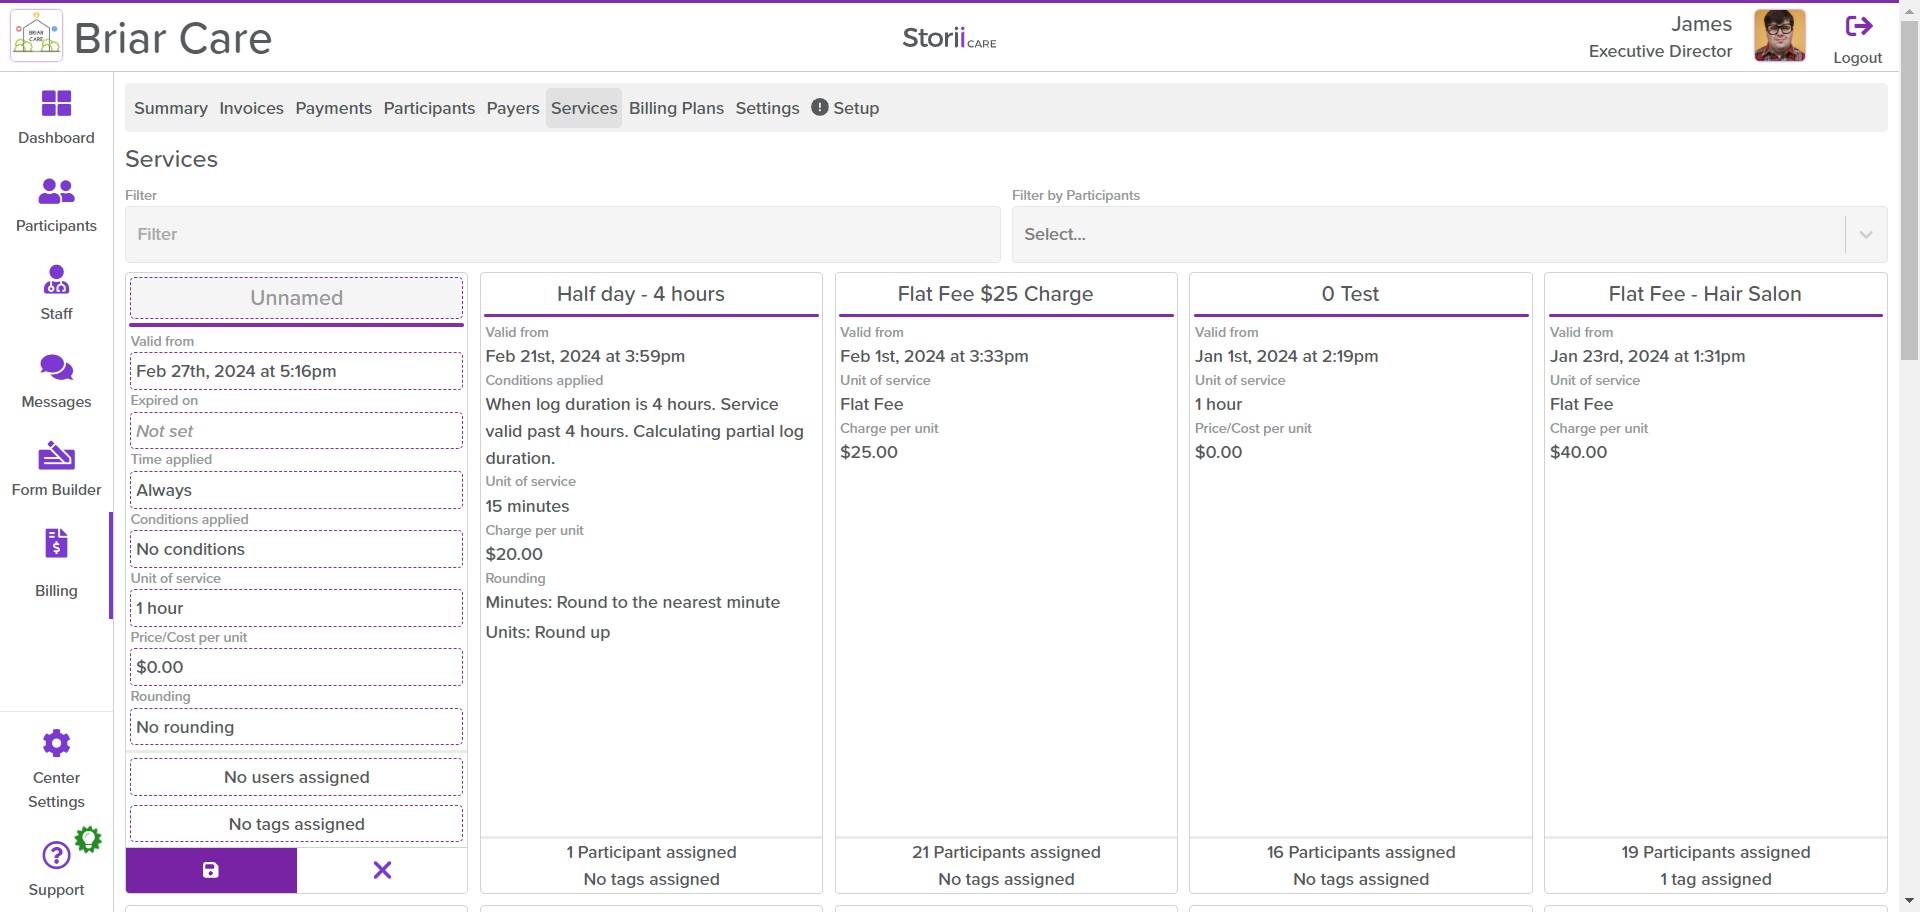
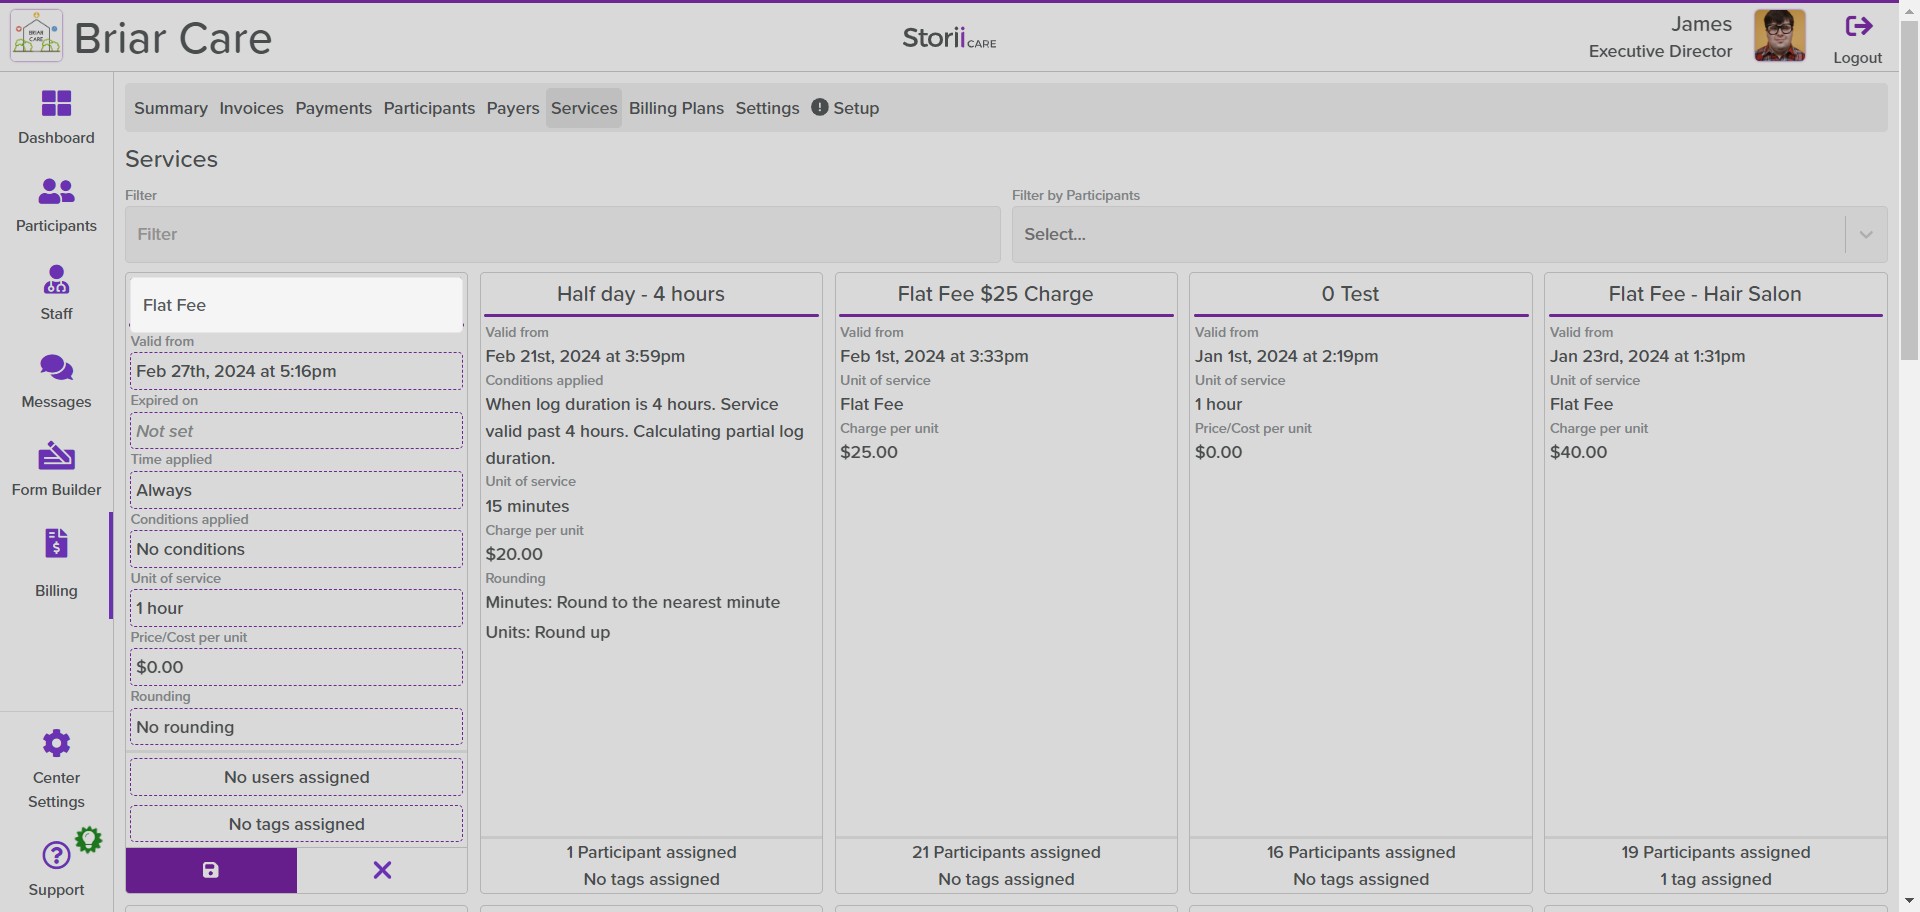
9
After, click on "Unnamed" to add the name of the service.
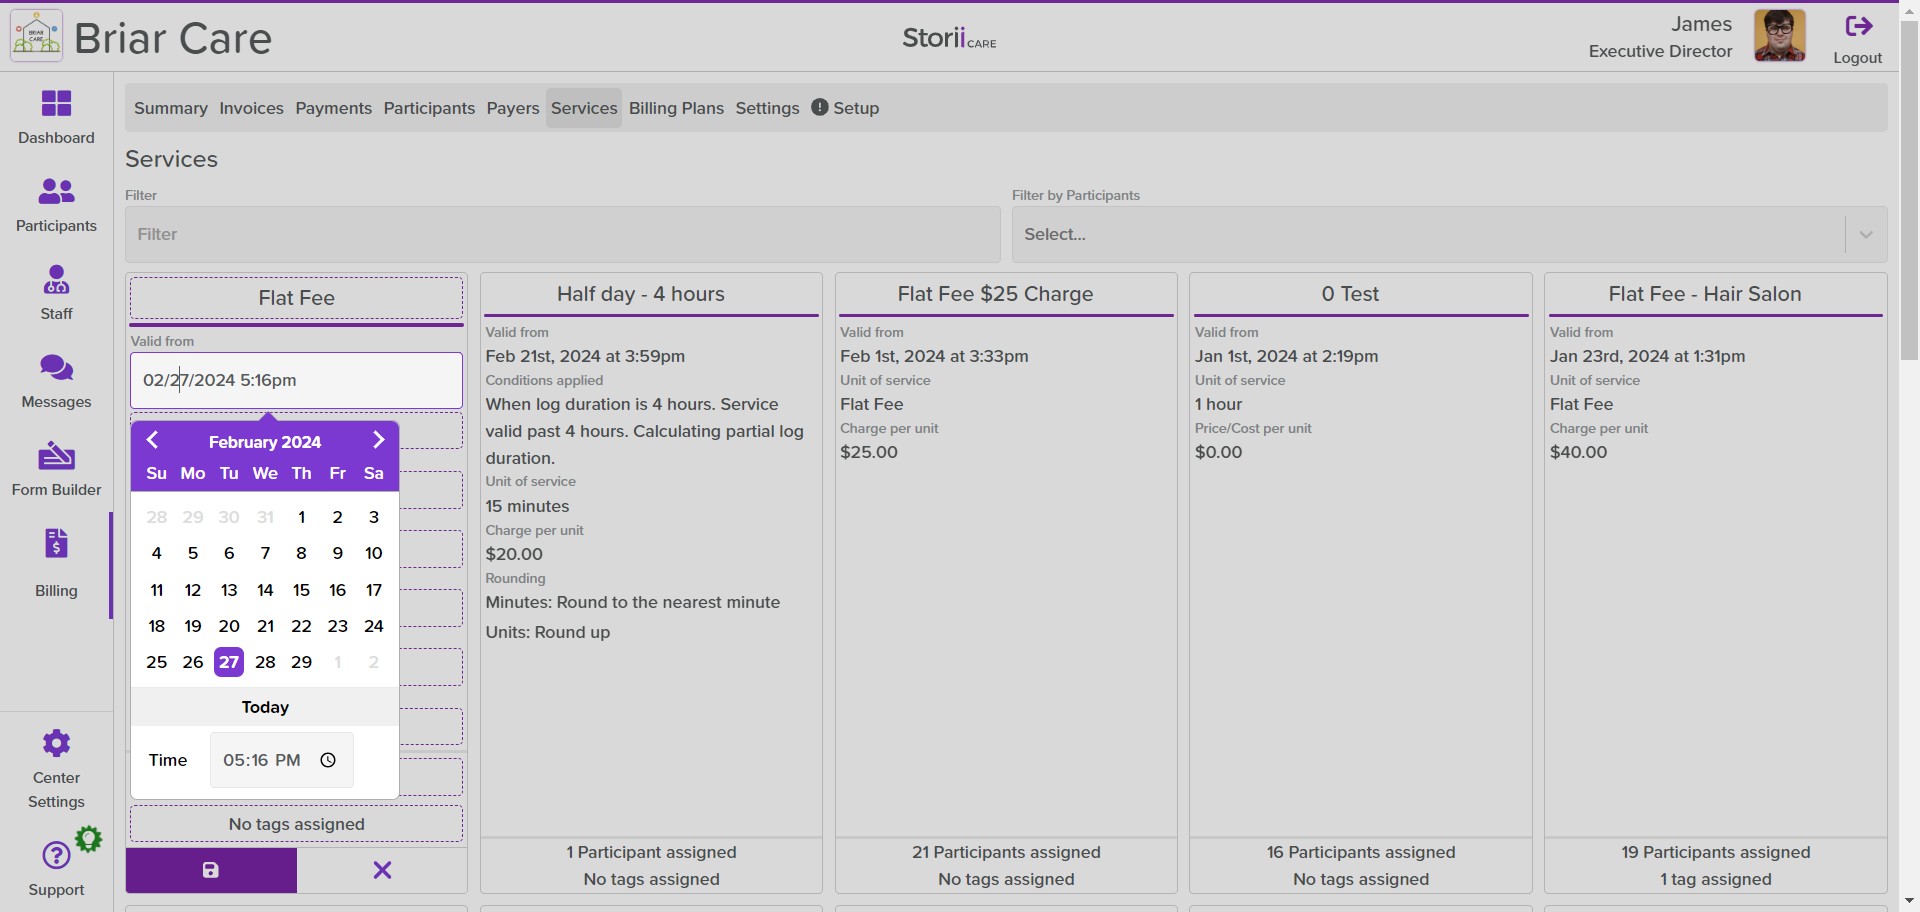
10
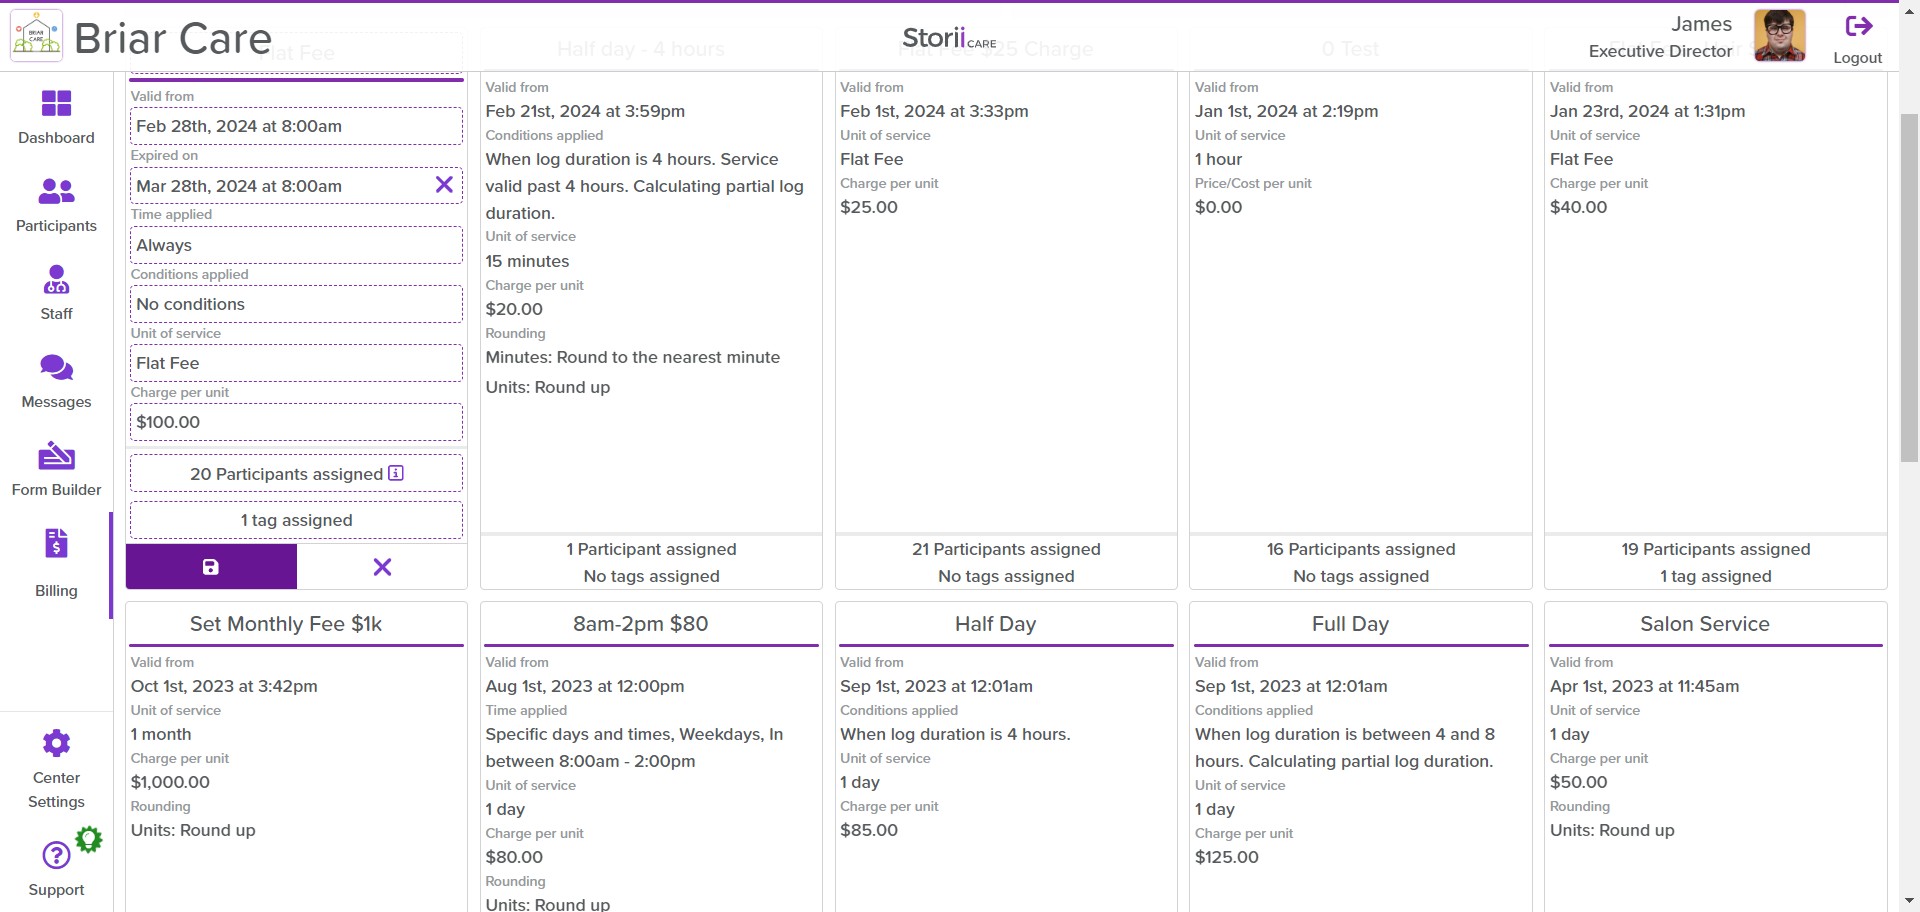
You may choose the date the service will start to be applicable.
11
Step 11
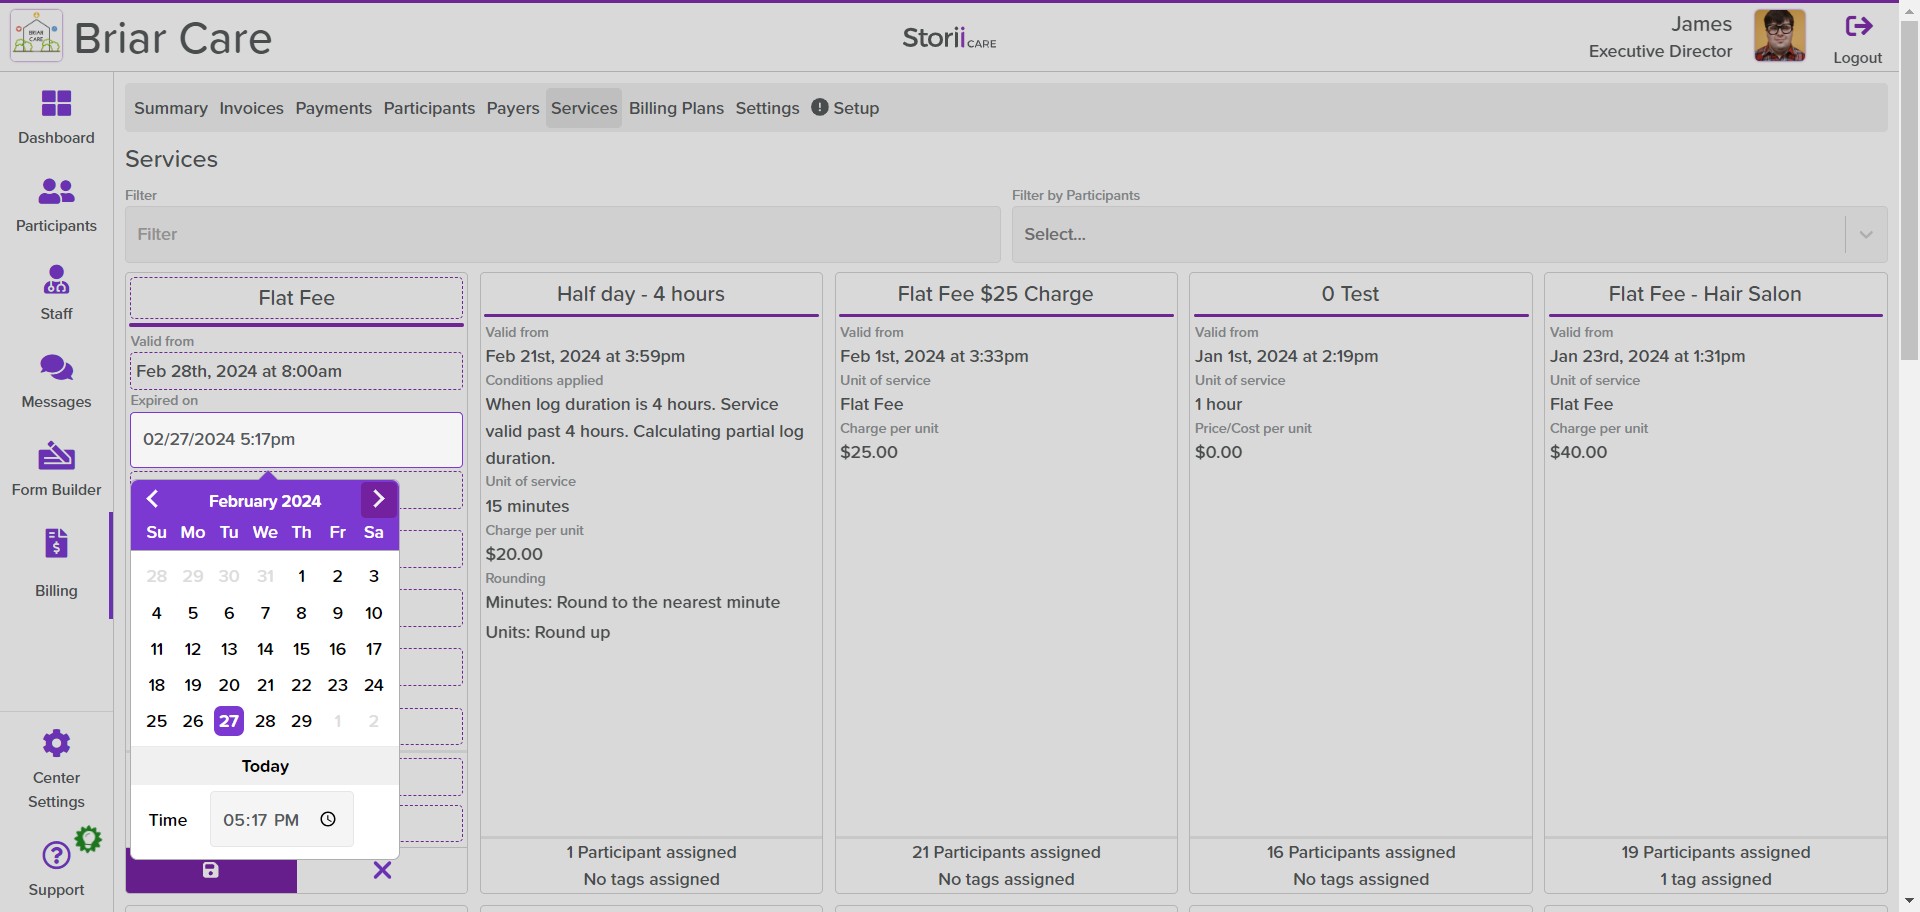
12
Next up, it is possible to add an expiration date and time.
13
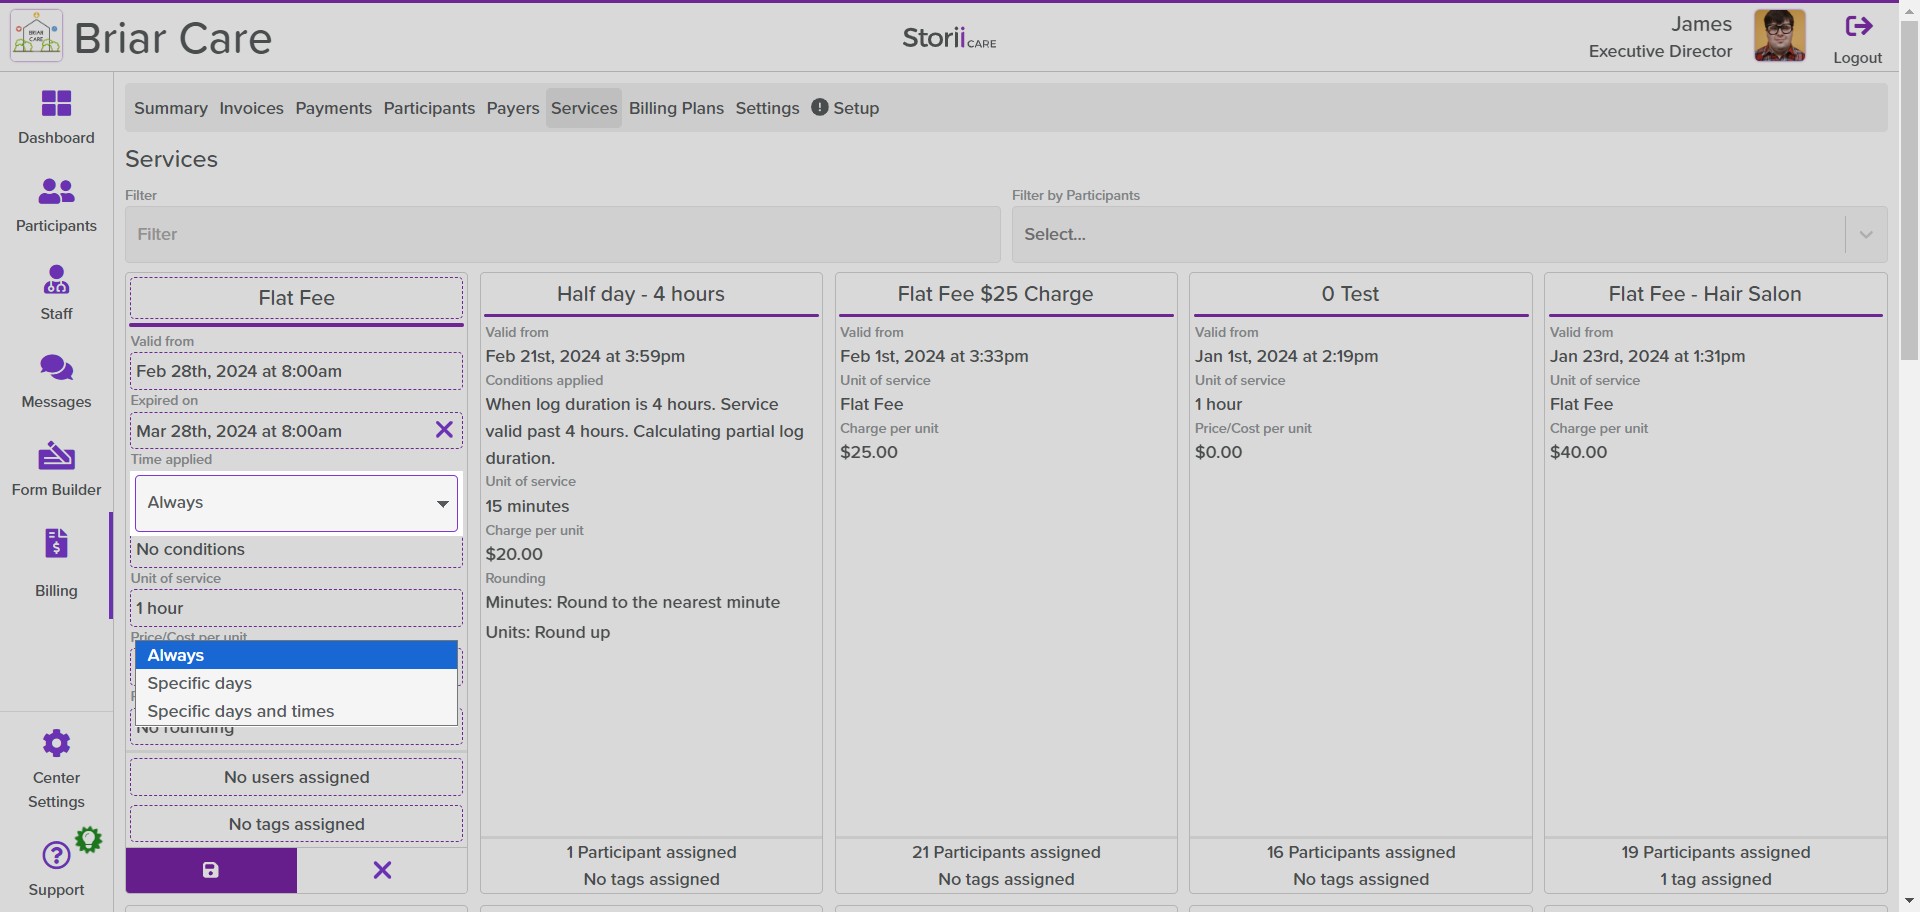
After that, you may configure if this service applies to every day or specific dates and times the individual is present.
14
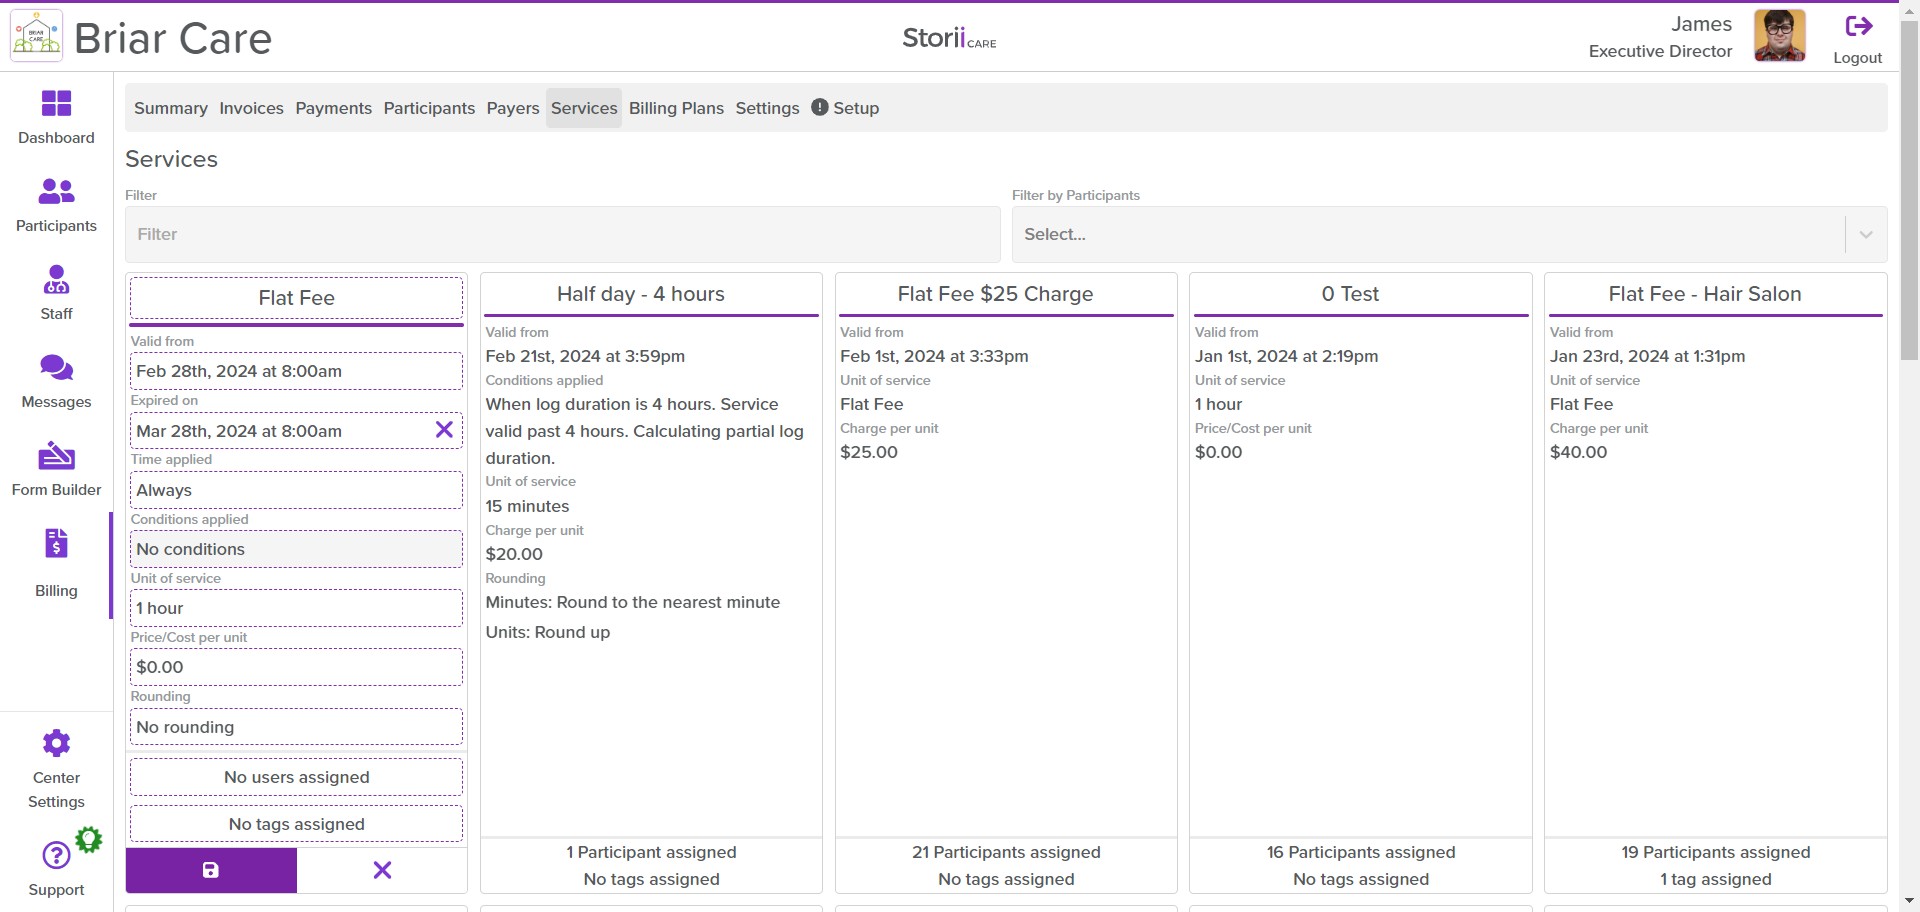
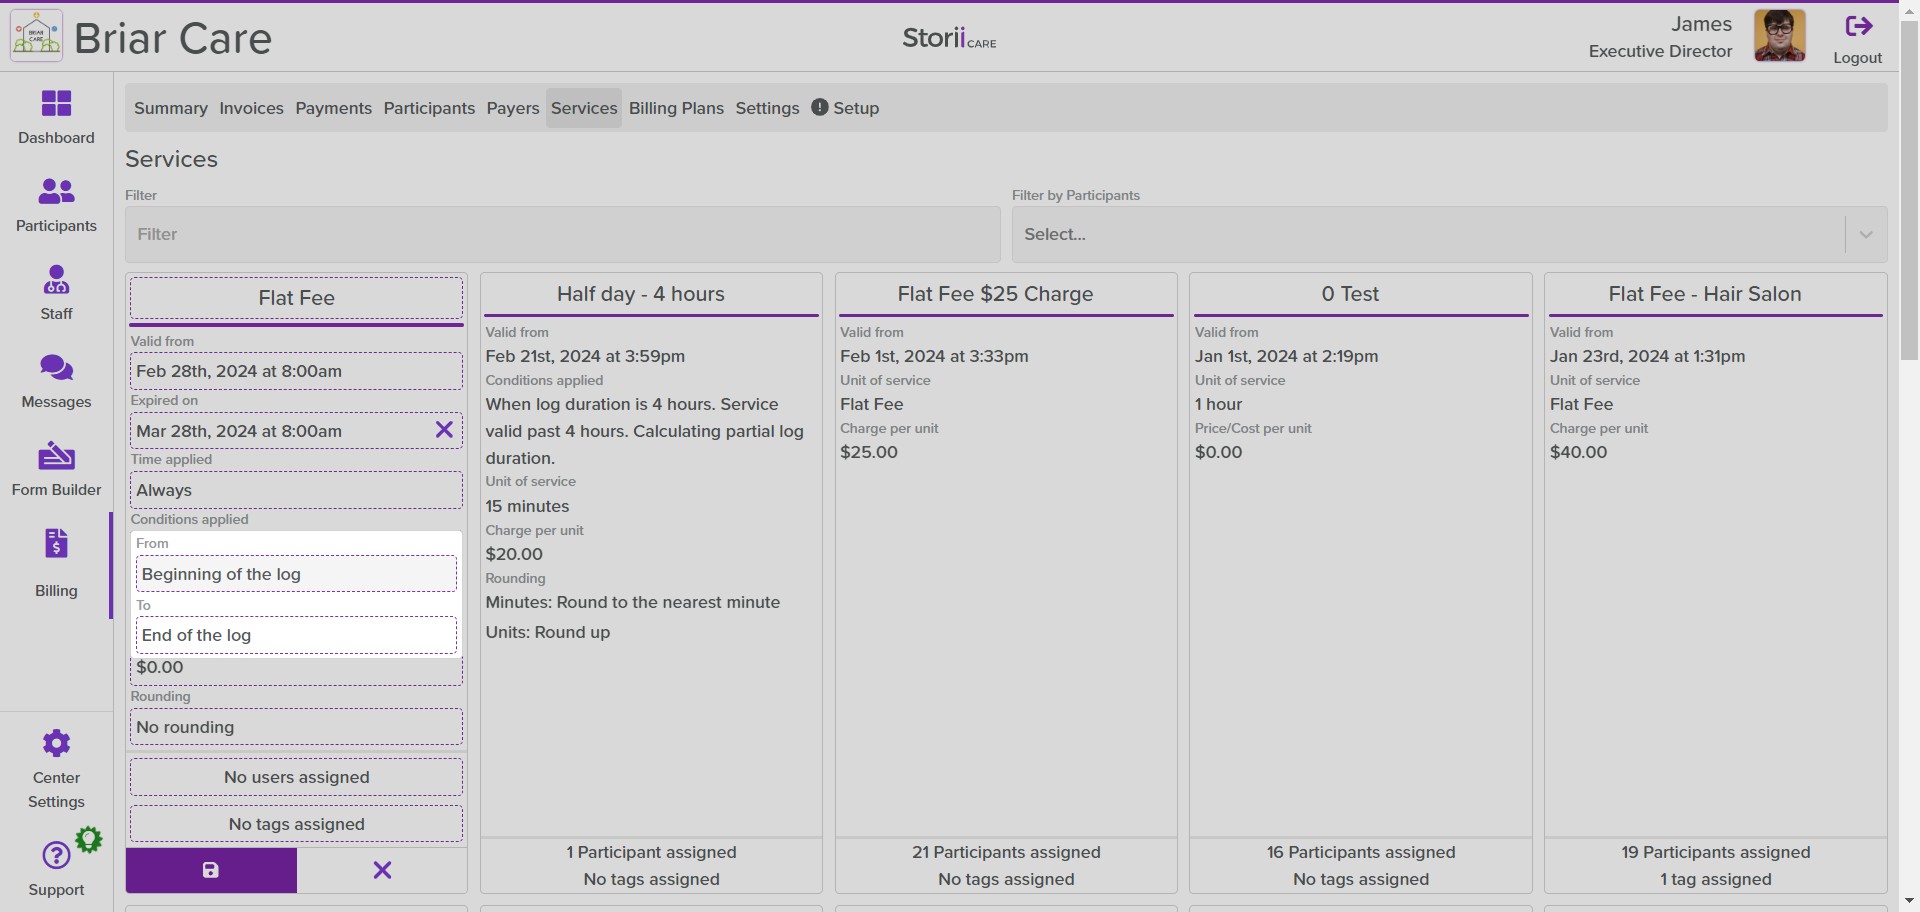
Click on "Conditions applied" to configure the service application conditions.
15
Step 15
16
Following that, you may configure the "Unit of service".
17
Next, click on "Flat Fee" to add a fixed fee rate.
18
Video step
19
After that, set the charge per unit of service.
20
Video step
21
Once that's done, click on "No users assigned" to assign participants to the service created.
22
Next, click on individual participants or groups that are assigned to this Flat Fee option.
23
Click on "No specific settings" to add any custom configuration per participant.
24
Step 24
25
Now, click here.
26
Click on "No tags assigned" to add any tags associated with this Flat Fee service.
27
Click to assign tags.
28
Finally, click here to save the Flat Fee service created.
29
Video step