Made with Supademo
Create step-by-step product demos and tutorials for your company for free. No credit card required.
Postiva Demo
Ali Osman Delişmen
Updated: Jul 07, 2024
Description
Click through a step-by-step, interactive demo walkthrough of Postiva, powered by Supademo.
Steps
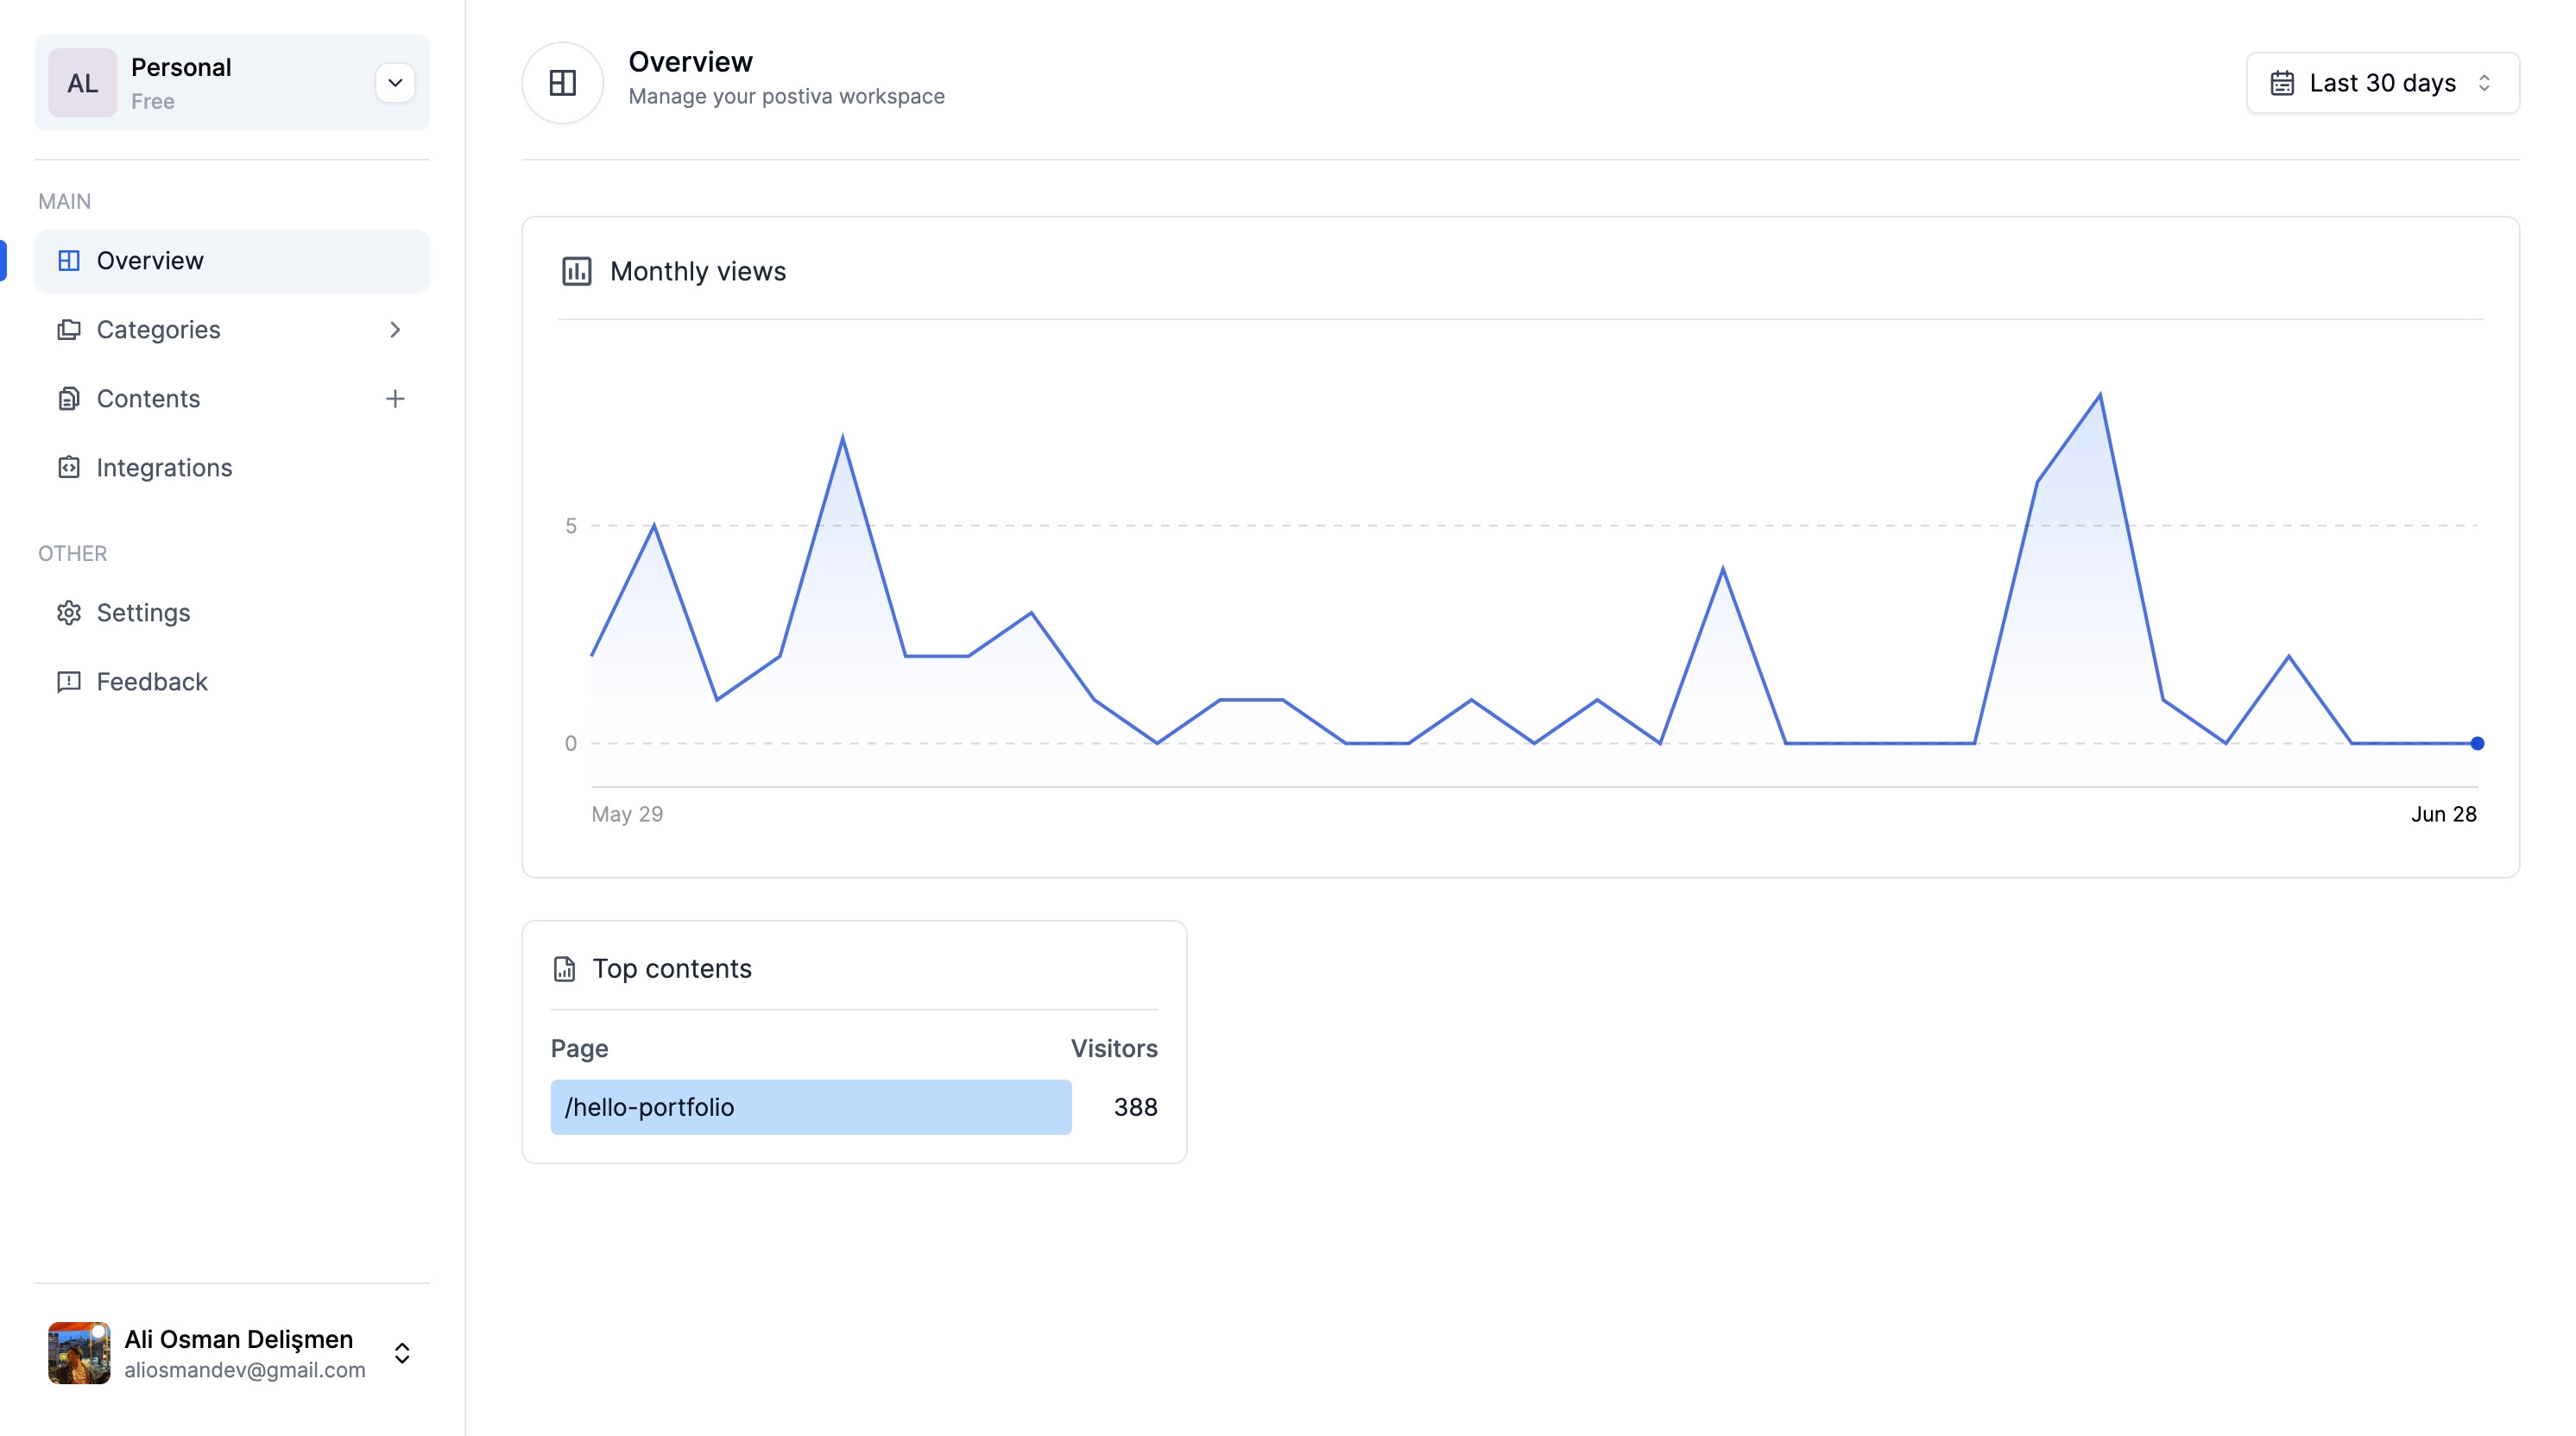
1
Click 'Select workspace' to start your session.
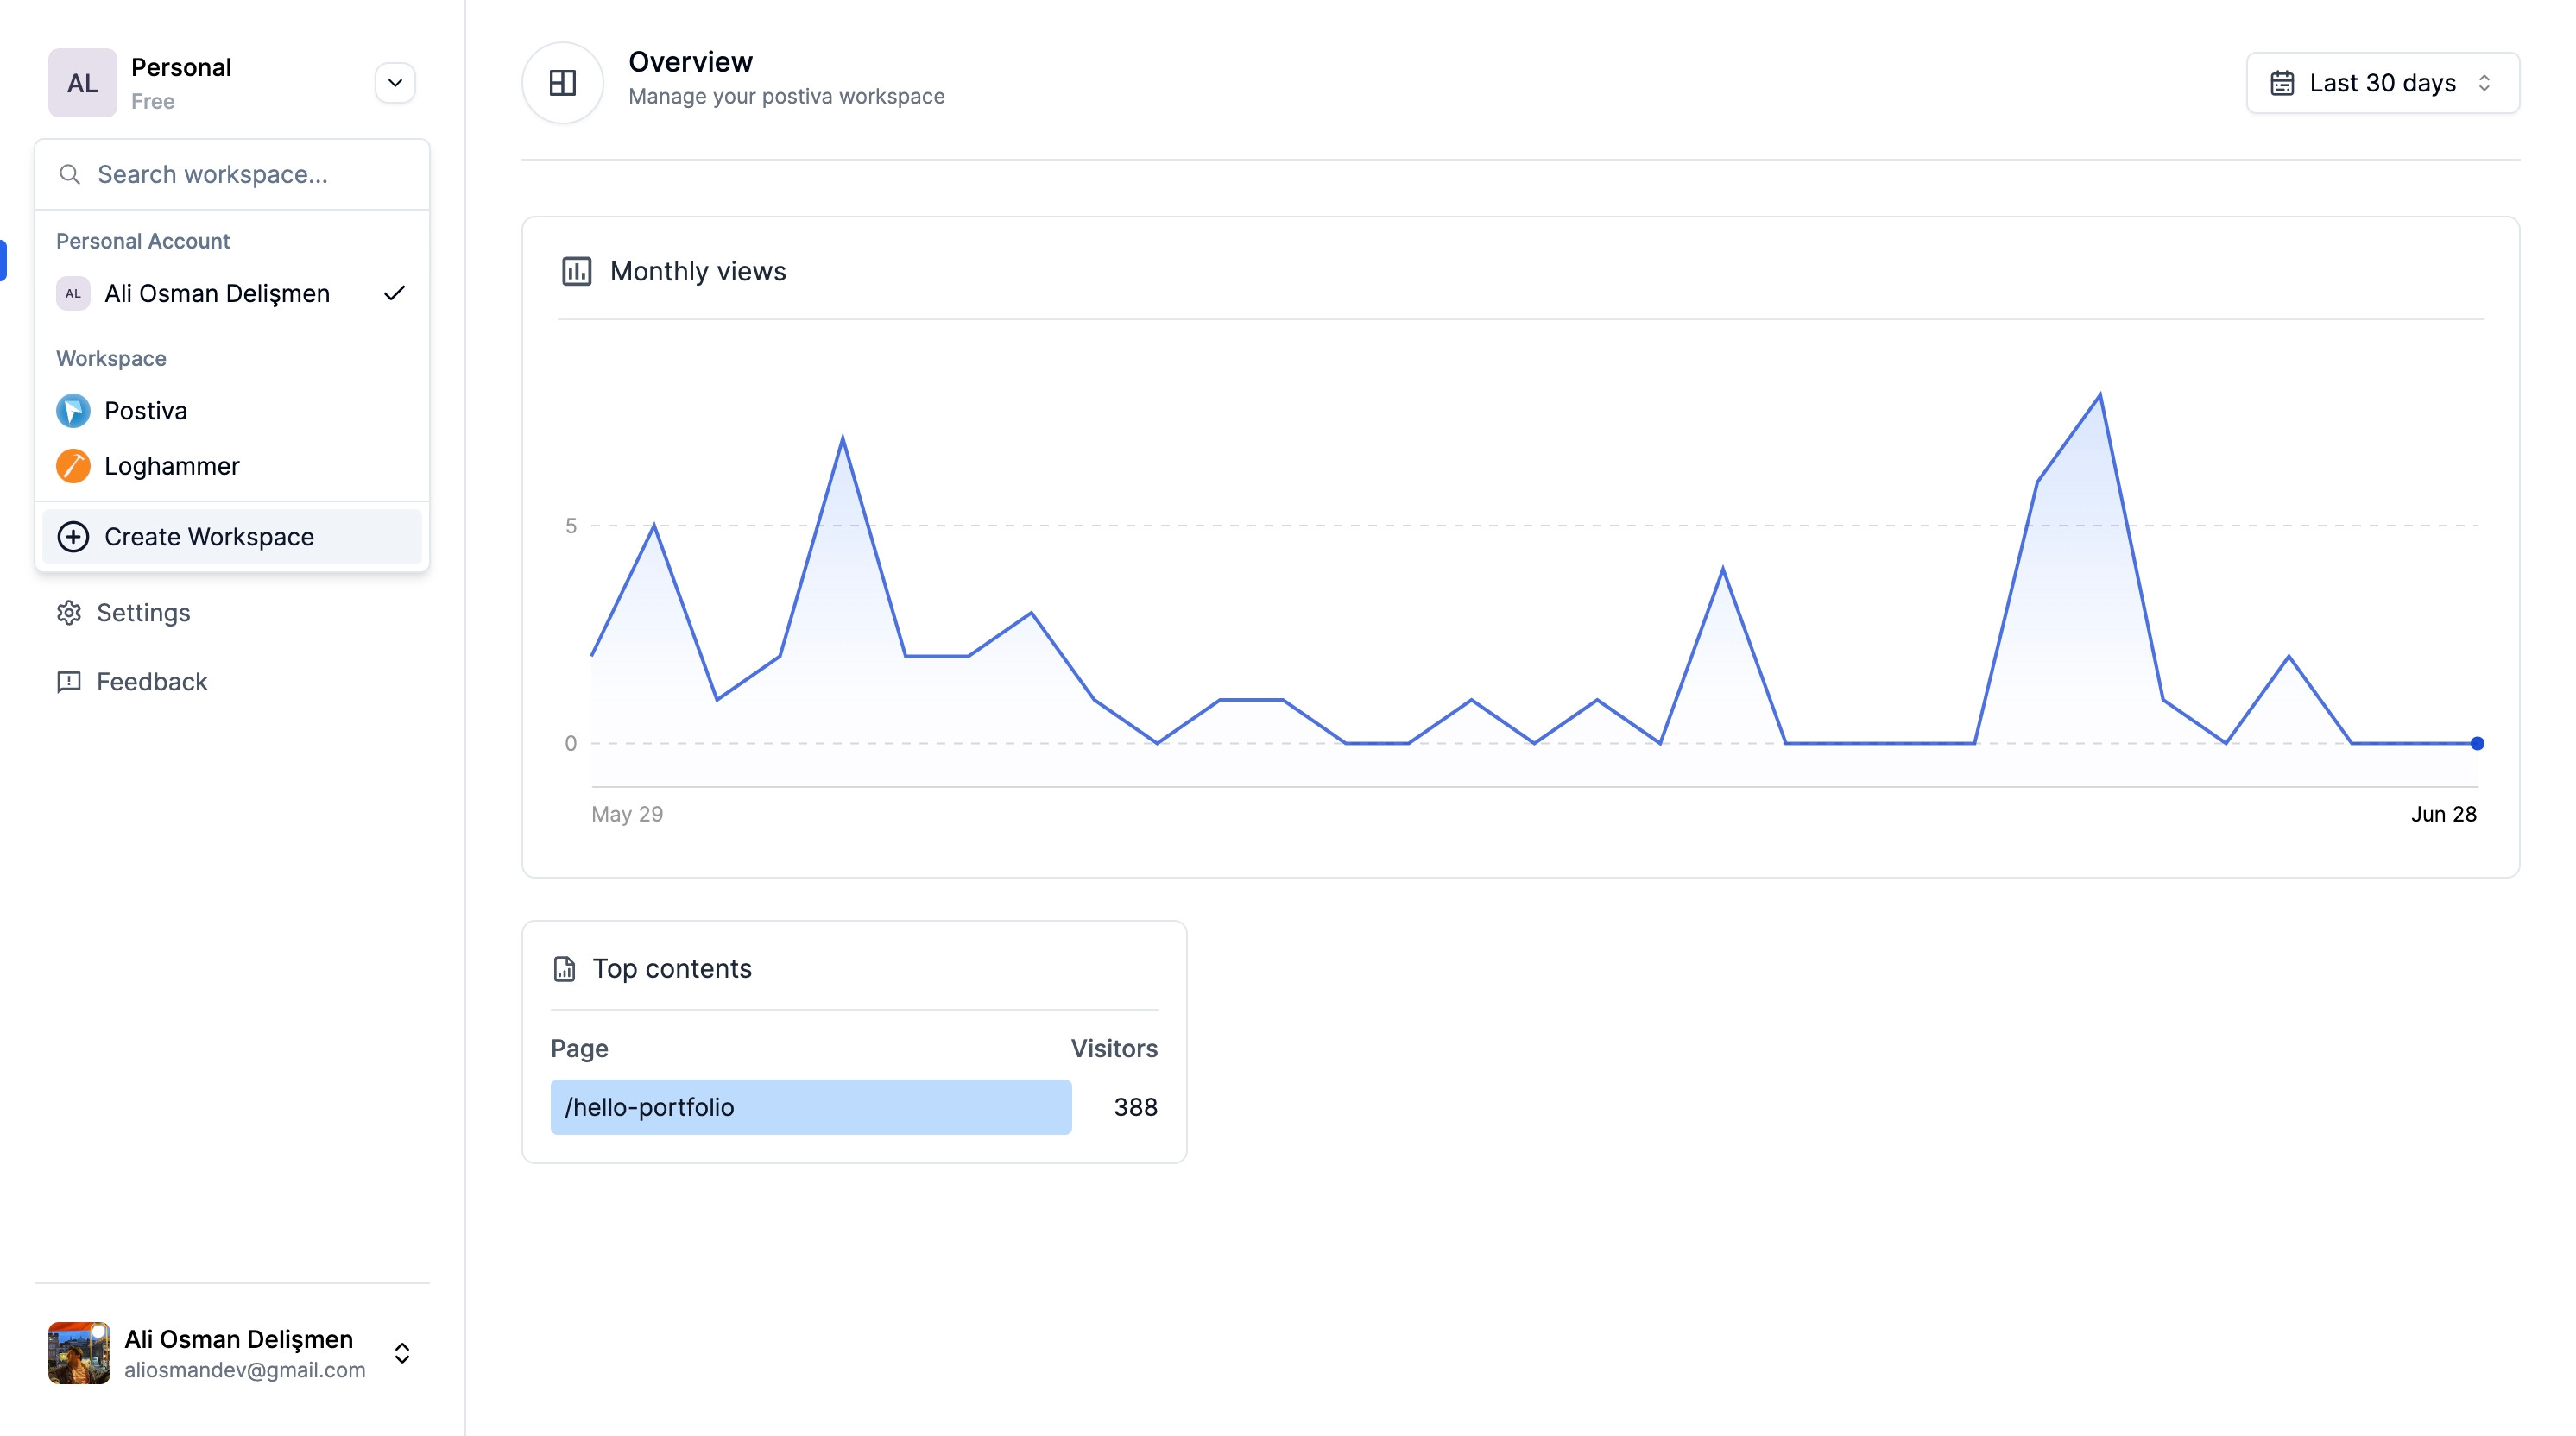
2
Next, select 'Create Workspace' from the options.
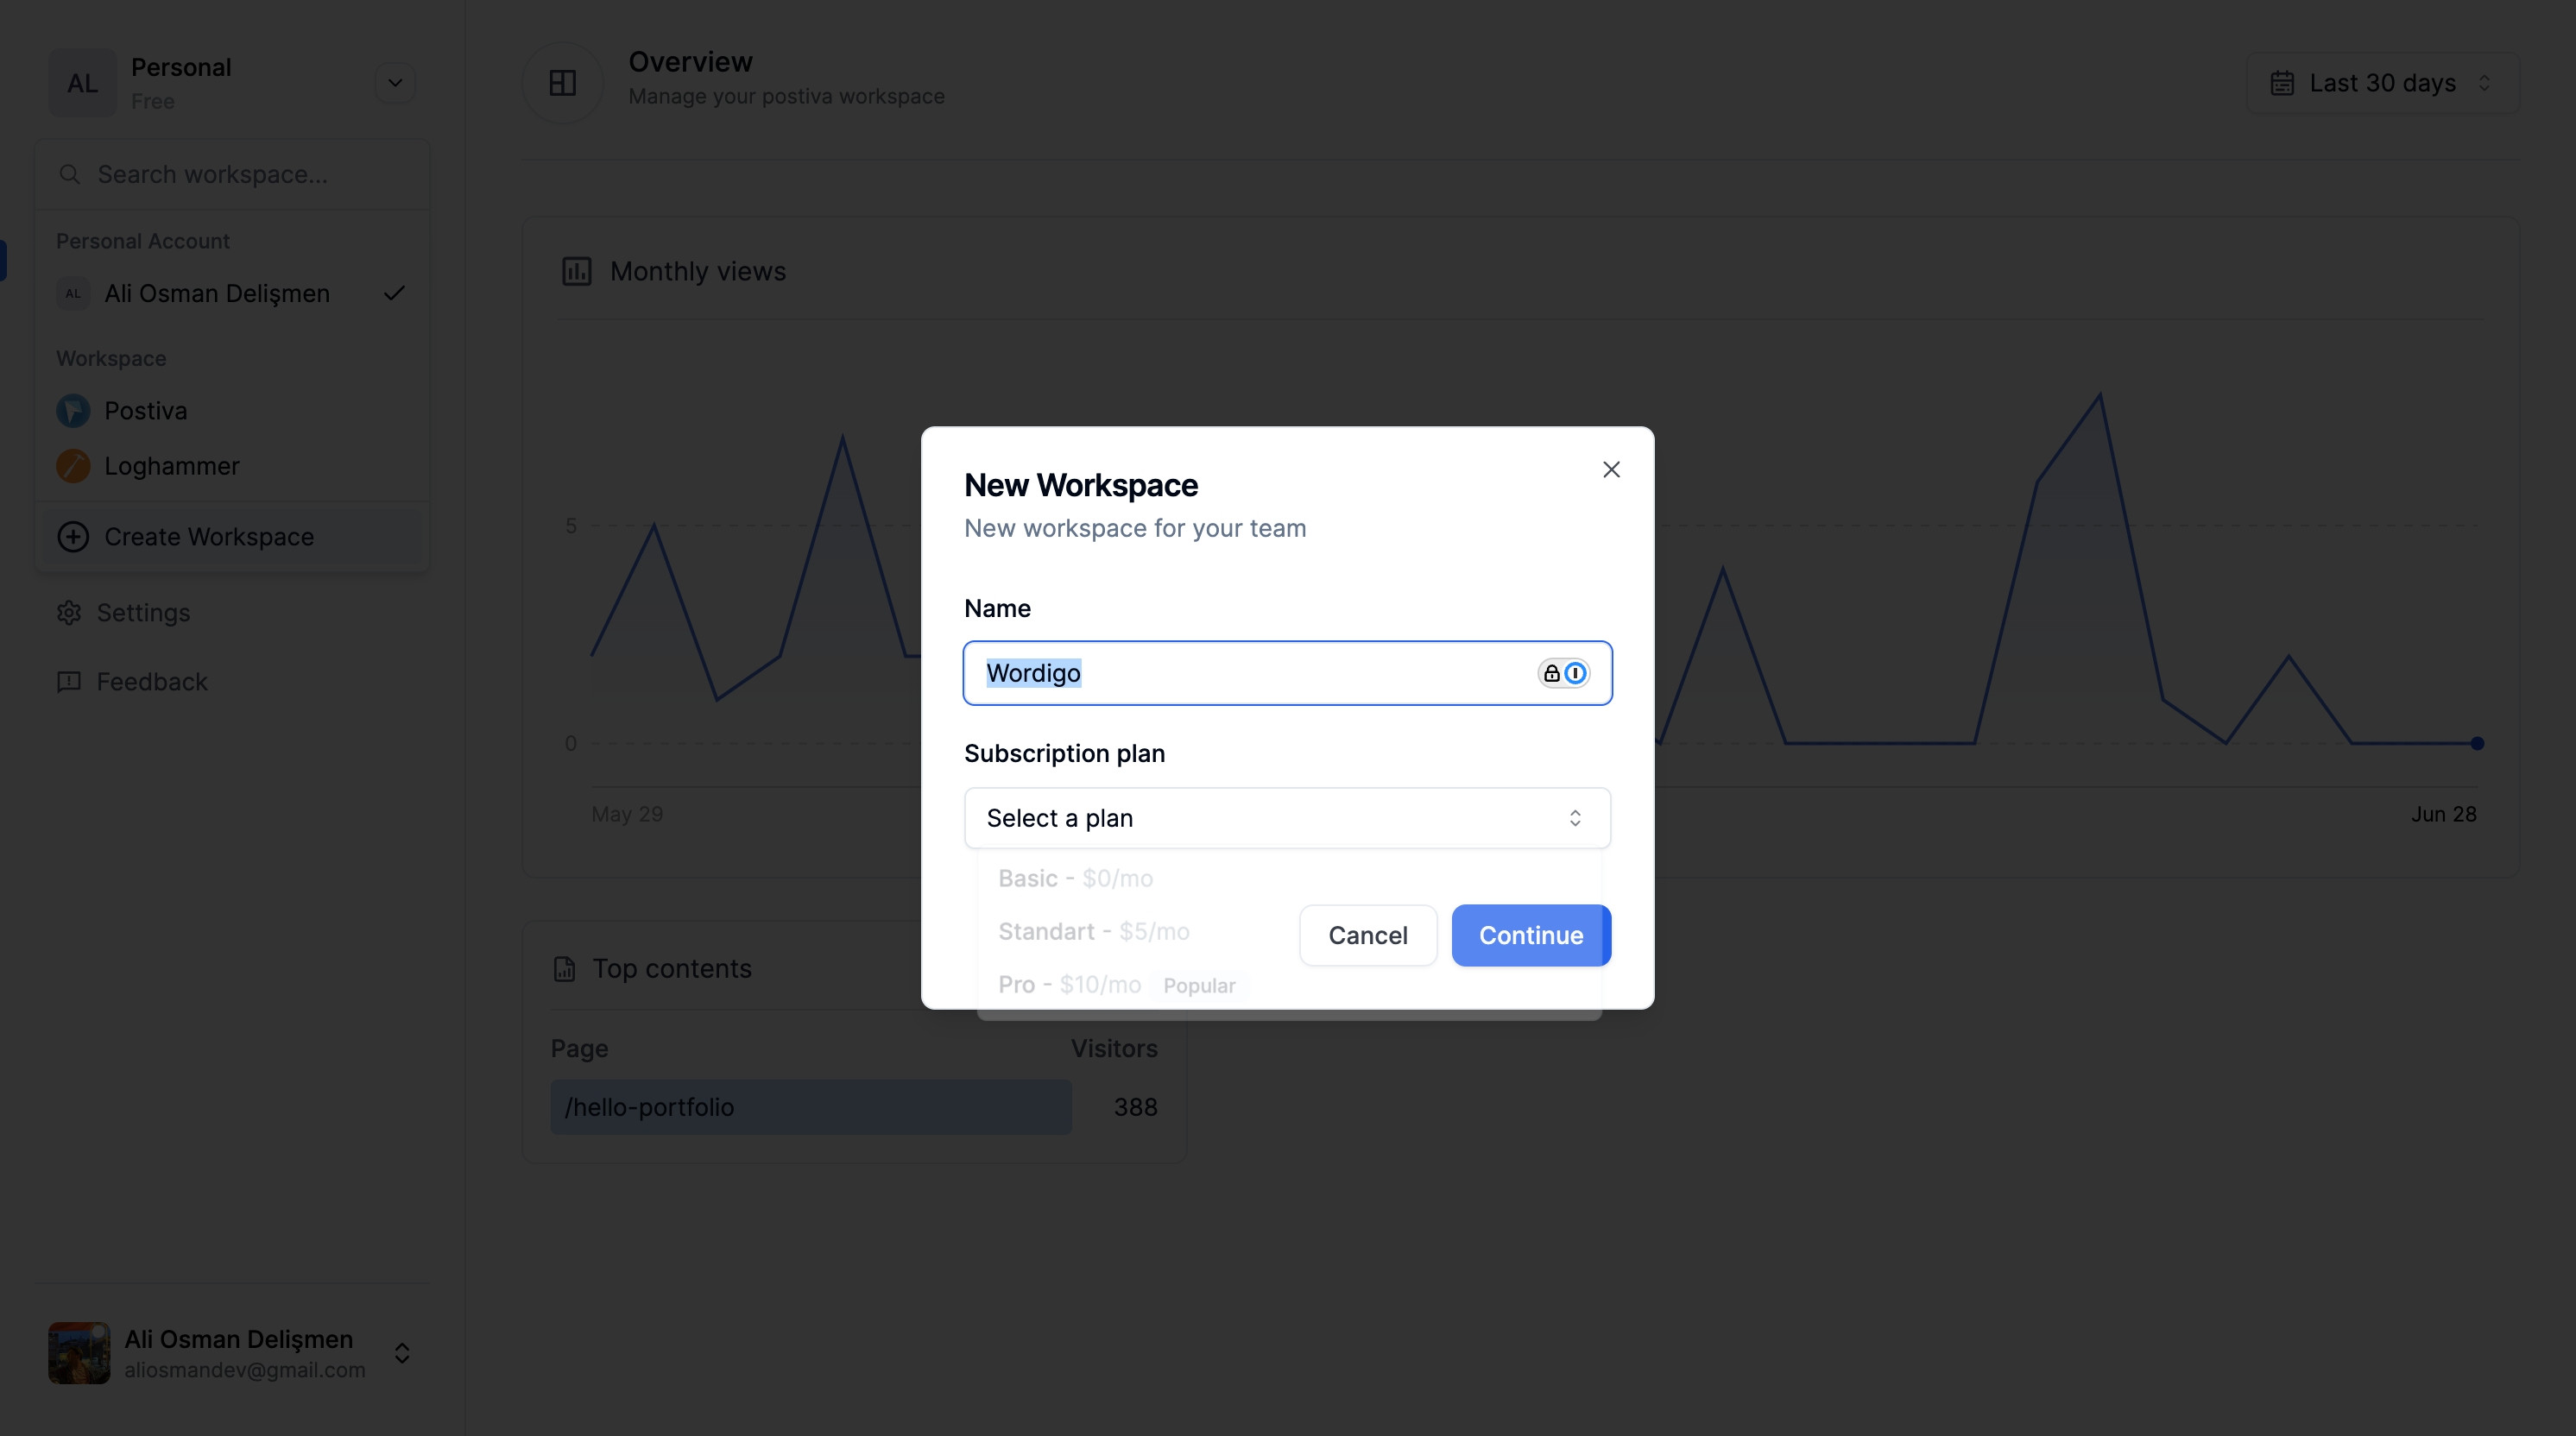
3
Now, choose a plan that suits your needs.
4
Then, opt for the $5/mo plan.
5
Click 'Continue' to proceed with your settings.
6
Afterwards, explore by clicking 'Categories'.
7
Subsequently, add a 'New Category'.
8
Let's proceed to the next steps now.
9
Confirm your action by clicking 'Save changes'.
10
Next, delve into 'Contents'.
11
Once done, create new content.
12
Then, click on the element to modify.
13
Click here as needed.
14
Next, select a category of interest.
15
Choose 'General' next in your selections.
16
Following that, select a member for specifics.
17
Click 'Ali Osman Delişmen' to view profile.
18
Afterwards, add any necessary tags.
19
Click 'Publish' to finalize your content.
20
Let's proceed to the next steps now.
21
Once that's done, navigate to 'Go Contents'.
22
Click on 'Integrations' for system enhancements.
23
Next, create a service key for integration.
24
Then, ensure to save these changes.
25
Next, go to 'Settings' to adjust preferences.
26
Please continue with the next steps.
27
Click 'Choose' for further selections.
28
Lastly, save any modifications made.
29
Click on 'Members' for team management.
30
Following that, explore 'Plans & Billing'.
31
Conclude by reviewing 'Billing History'.
32
Following that, click on "Plans & Billing".
33
To conclude, click on "Billing History".