
Configuring API Product Details in APEX Marketplace
Get Started
Learn more about managing Products in APEX Marketplace

III - APEX Marketplace Demo - Publisher Flow - Manage Product
A
Aleyssa SANCHEZ FROM.NSEARCH
Updated: Apr 28, 2025
Description
Steps
1
Configuring API Product Details in APEX Marketplace
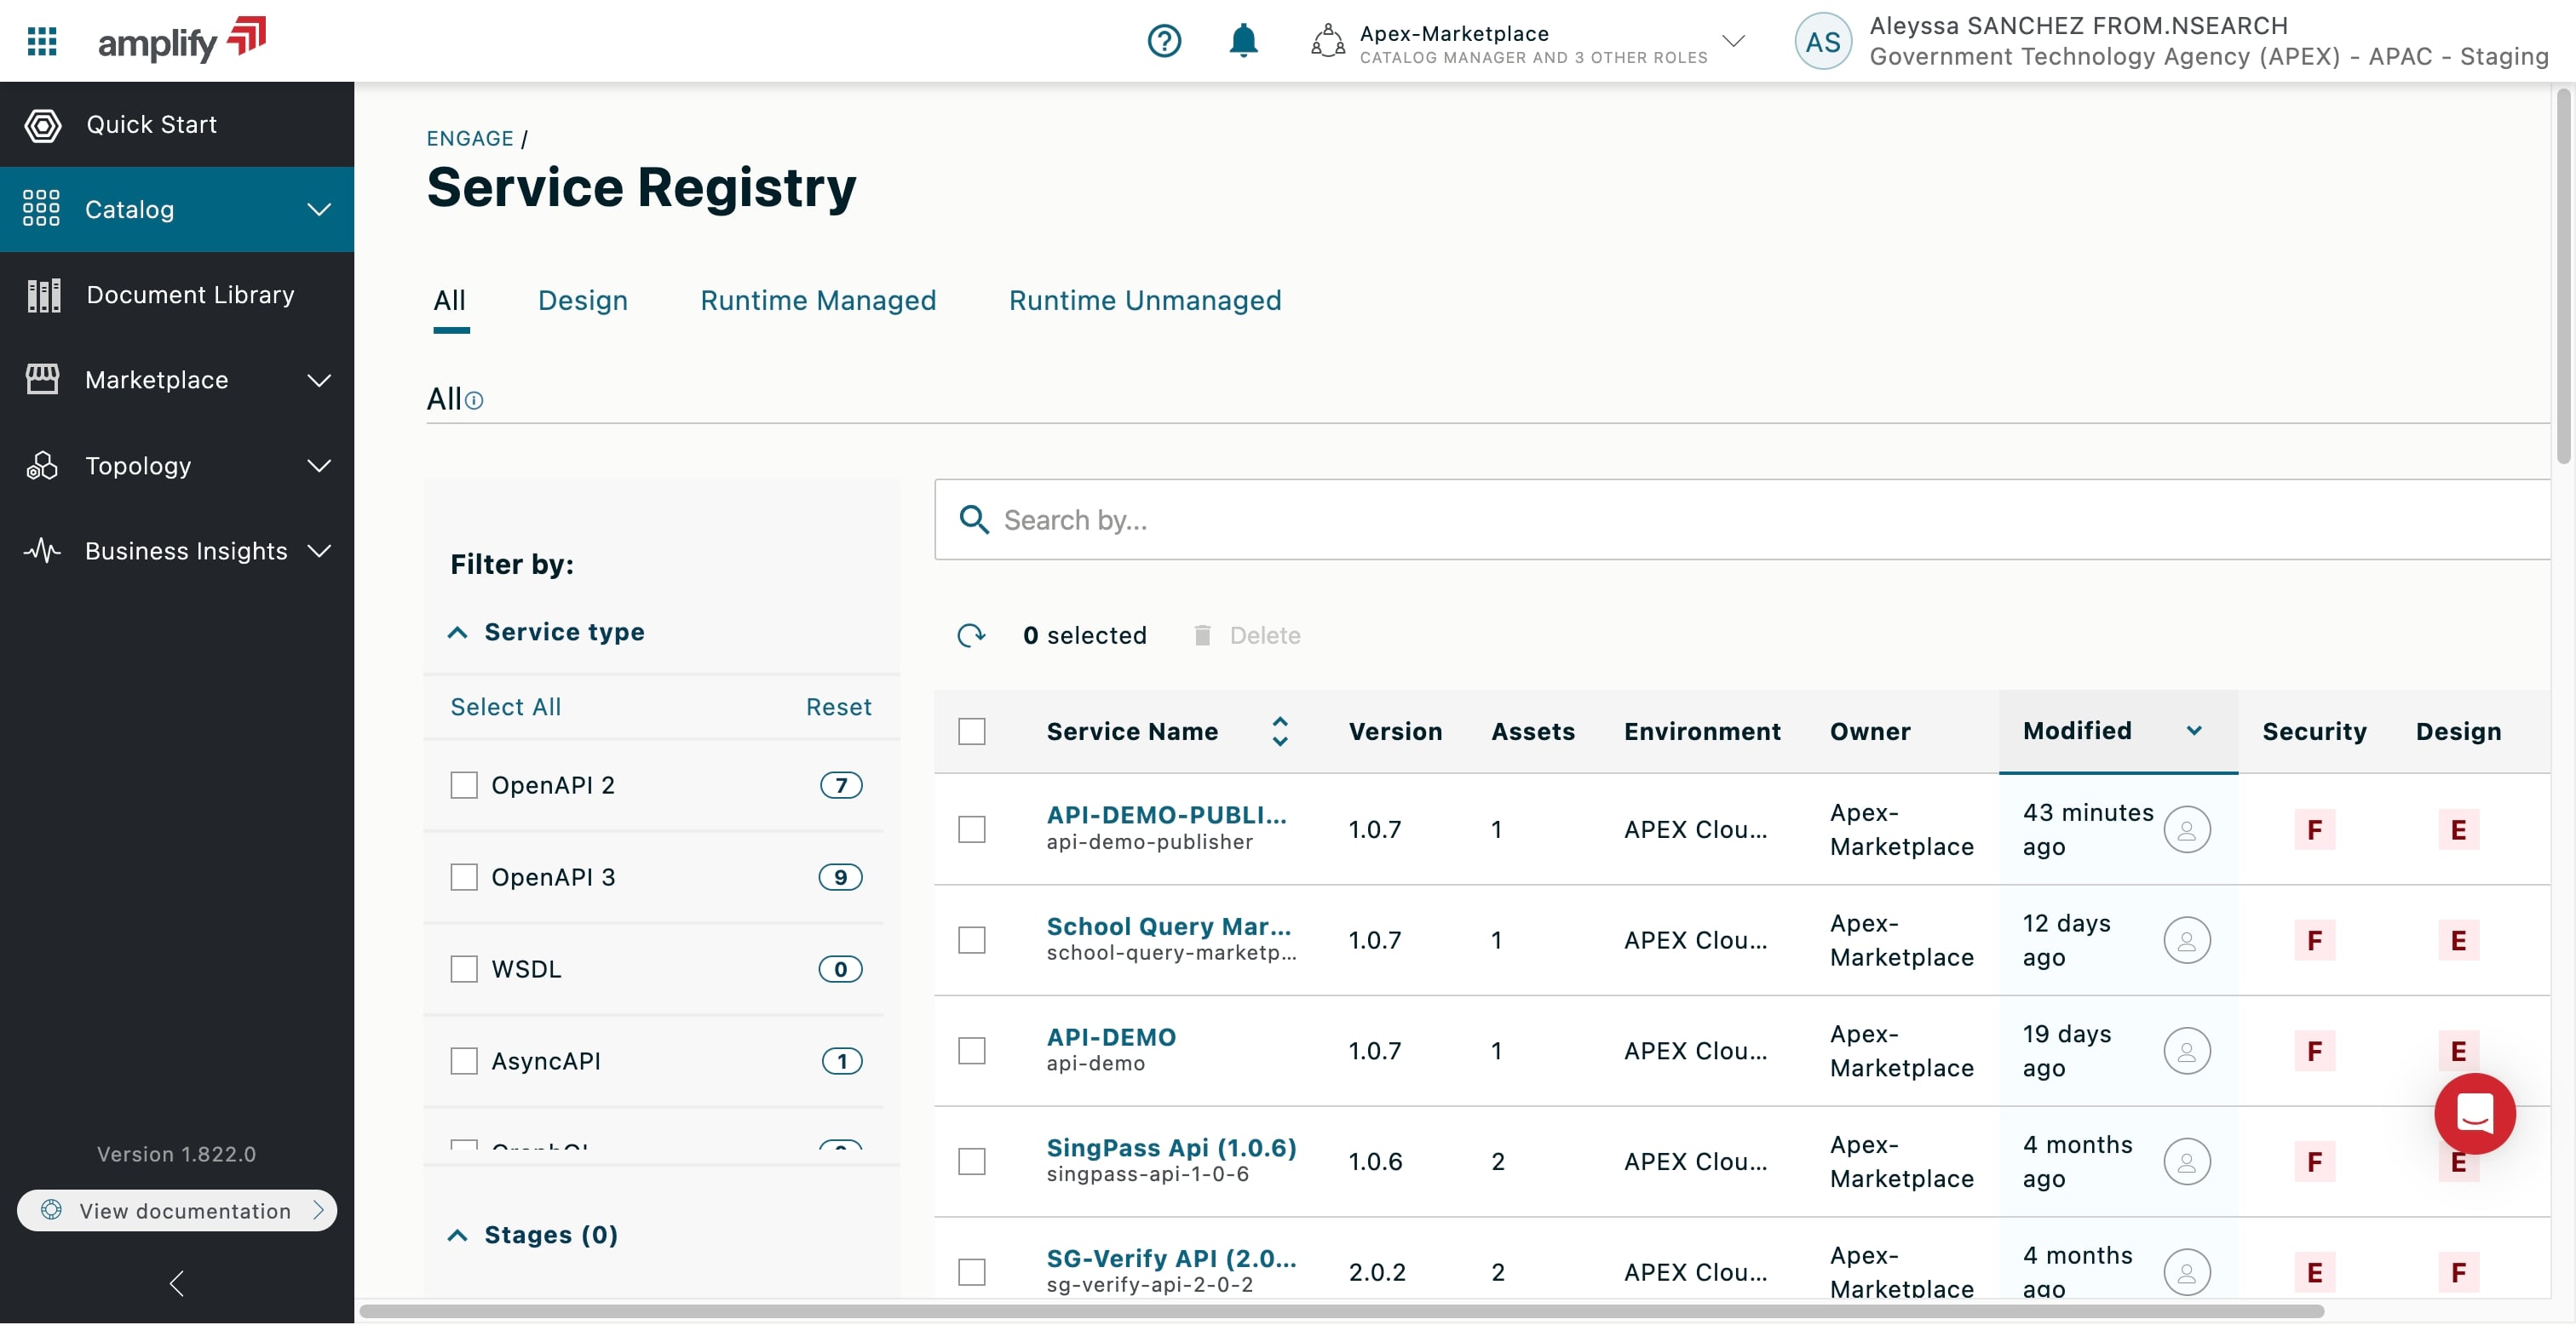
2
Click on "Catalog".
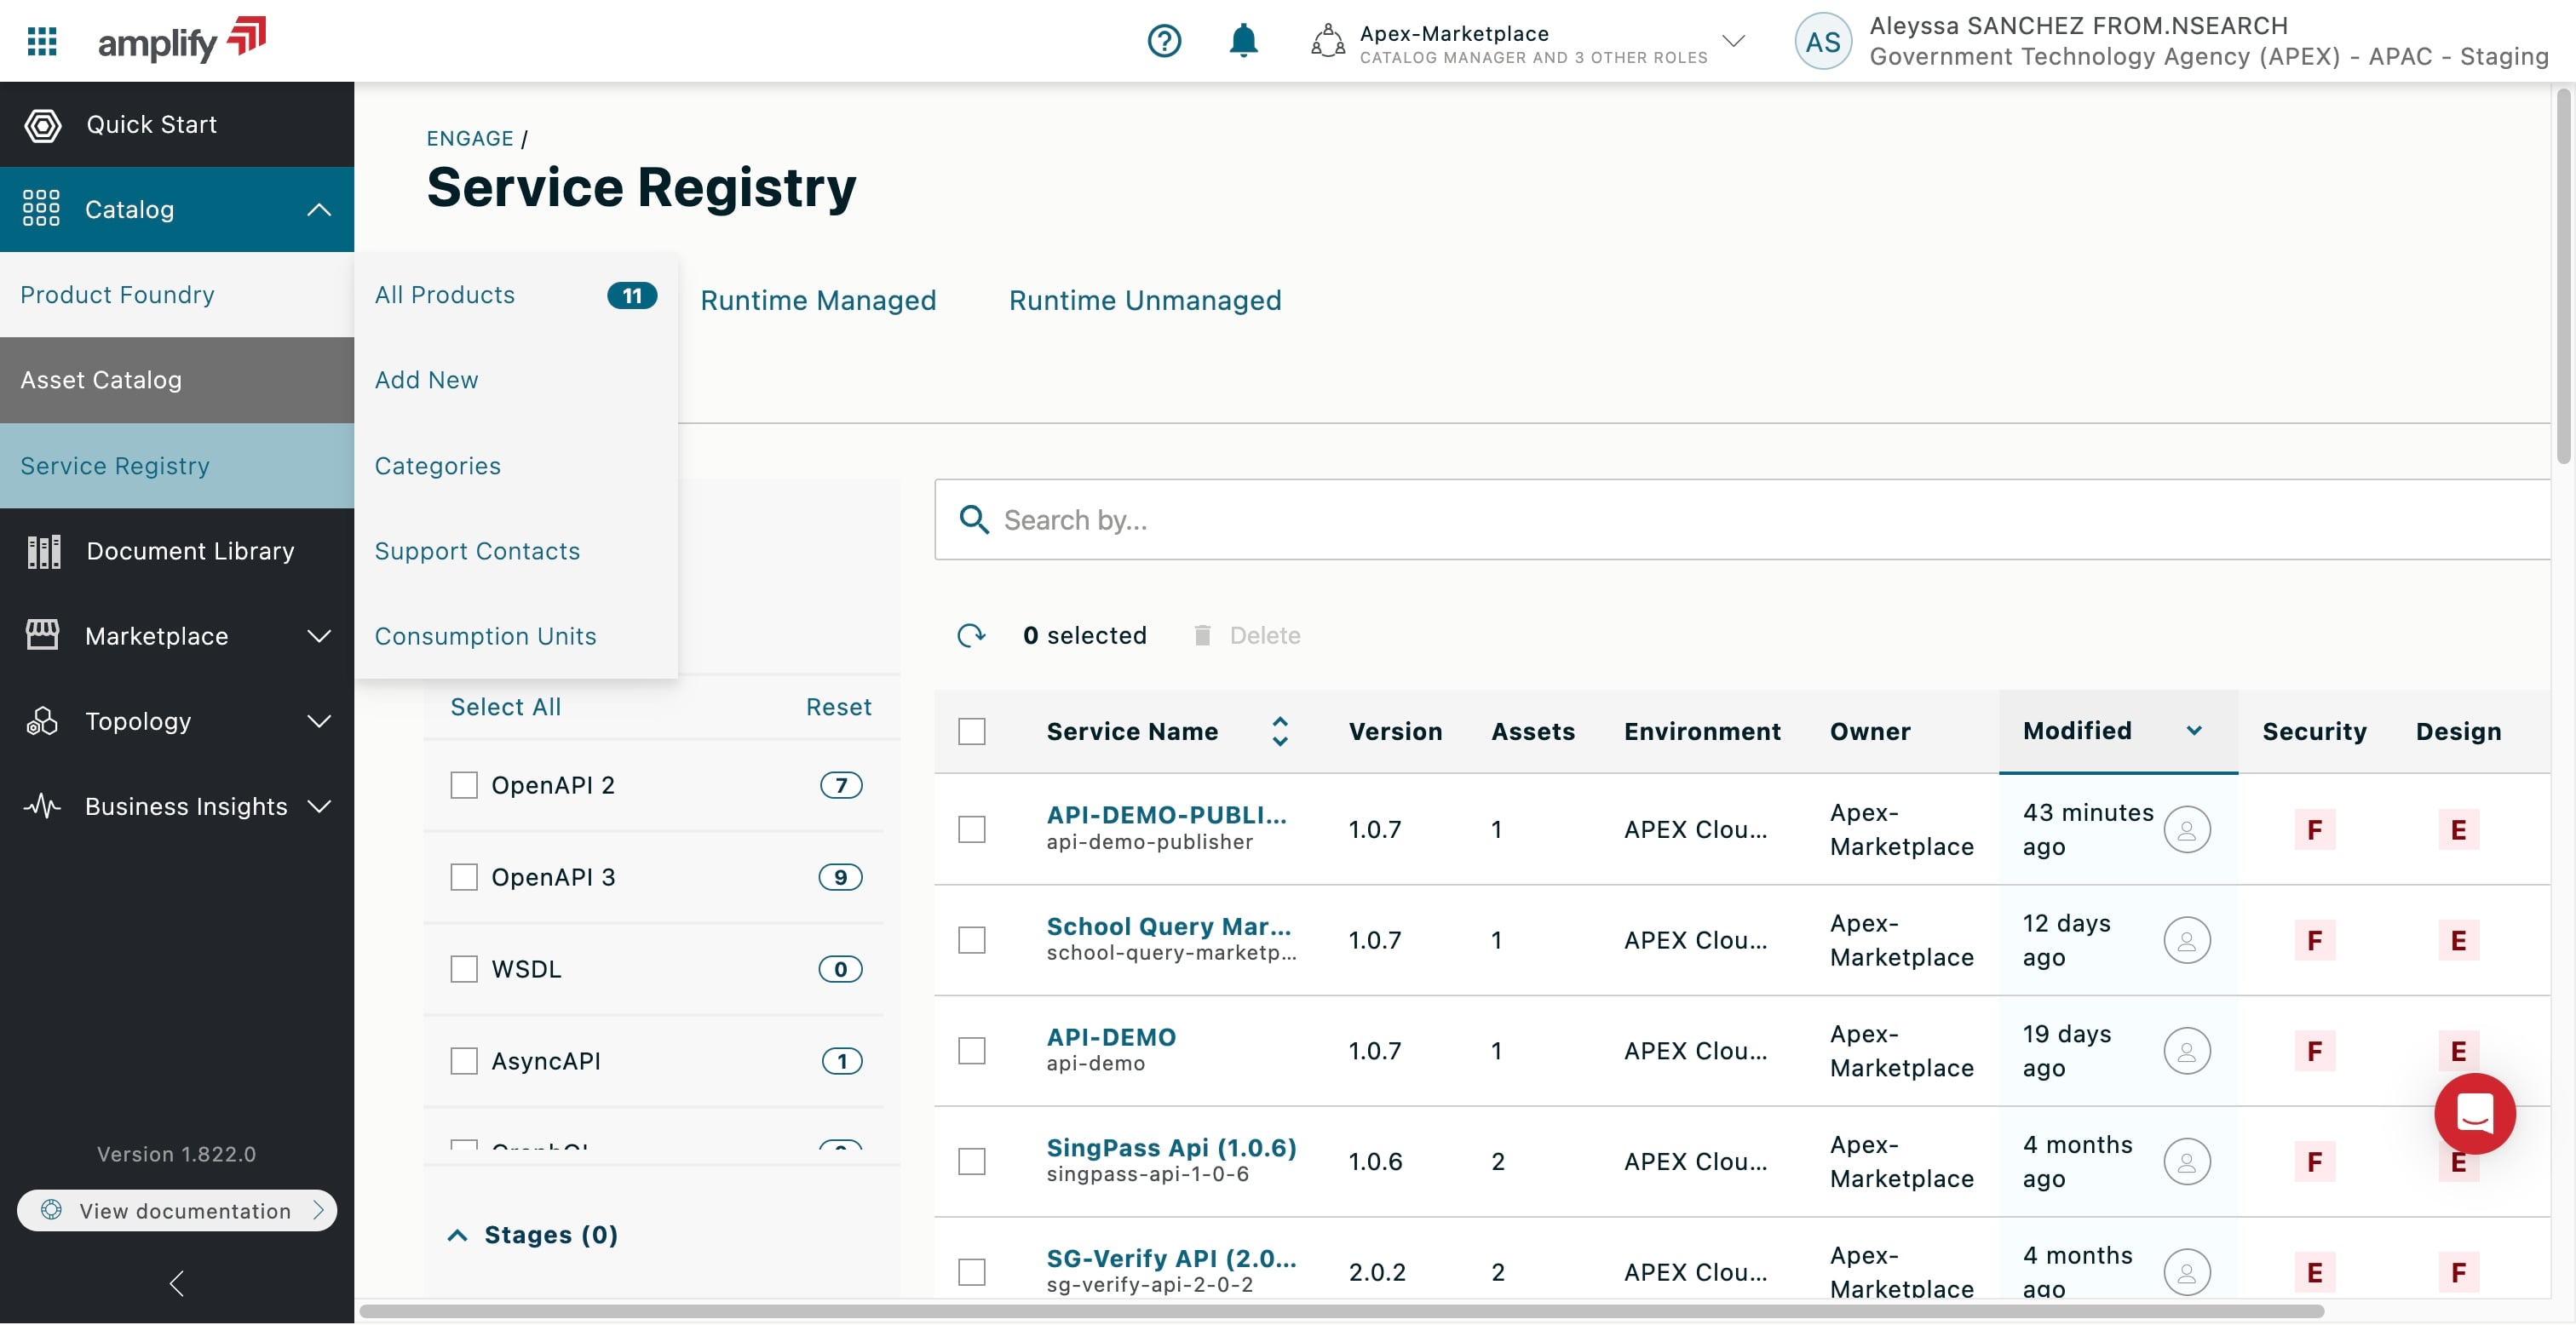
3
Click on "Product Foundry", then "All Products".
4
Find and select your API Product.
5
Edit Product details
6
To understand the different details you can add, [managing Products in APEX Marketplace]( https://docs.axway.com/bundle/amplify-central/page/docs/manageproductfoundry/foundryproductmanagement/index.html).
7
Click the Edit icon.
8
In the Profile section, you can add a description and an image for your product.
Click on "Next" when done.
9
In the Release Management section, you can configure the release setup and the option to archive previous versions.
Click on "Next" when done.
10
In the Access Rights section, configure the ownership and sharing of your Product.
Click on "Next" when done.
11
In the Categories, Tags & Attributes section, add a category or tag to find your product easier.
Click on "Next" when done.
12
Click on "+ Add New Contact" to add a support contact for your Product.
13
Add the contact information, then click on "Create".
14
Select a support contact.
15
Click on "Save".
16
Add a new Product version
17
To create a new Product Version, go to the product page, and select the Version tab and click on "Create New Version".
18
You can tie a new Asset to your Product.
19
Click on "Next".
20
Add documentation from a template or create a new document.
For example, click on "Begin with a Blank Document".
21
Click on "Add topic".
22
Add the details then click on "Save".
23
Click on "Add section".
24
Add the details, then click on "Save".
25
Once that's done, click on "Add article".
26
Select an option. For example, click on "Markdown".
27
Add the details and click on "Next".
28
Add the documentation content, then click on "Next".
29
Click on "Next".
30
Click on "Save as Draft" to save the version and additional edits later.
31
To activate the version, click the menu icon on the draft.
32
Next, click "Activate".
33
The version is now active. Add any additional configurations.
34
Then, click on "Update".
35
View the Product in the marketplace
36
On the Visibility tab, you can view where the Product is available and the visibility settings.
37
Click on the Marketplace link to view the Product in the Marketplace.
38
The Marketplace page is displayed.
39
Create a Product plan
40
On the Product page, click on "Plans".
Learn more about [Product plans](https://docs.axway.com/bundle/amplify-central/page/docs/manageproductfoundry/manageproductplans/index.html).
41
Following that, click on "+ Add Plan".
42
Add the general Plan information, then click on "Next".
43
Add the billing configuration details, then click on "Next".
44
Set up the quota configuration.
[Refer to documentation](https://docs.axway.com/bundle/amplify-central/page/docs/manageproductfoundry/manageproductplans/index.html#configure-a-quota).
45
Click on "+ Add Resources".
46
Select the resources to apply units and quotas to.
47
After that, click on "Add Resources".
48
Configure the Plan visibility, then click on "Next".
49
Configure the subscription approval settings, then click on "Next".
50
Add tags and attributes to your plan, then click on "Save".
51
Your new plan is now added in Draft state.
52
Click on the menu icon to activate your plan.
53
Click on "Activate".
54
Now, click on "Yes, Activate".
55
The plan is now activated and ready for consumption.
56
Approve a subscription
57
Click on "Marketplace".
58
Click on "Subscriptions".
Learn more about [managing subscriptions](https://docs.axway.com/bundle/amplify-central/page/docs/managemarketplace/managesubscribers_subscriptions/index.html).
59
Click on the API with a Pending status.
60
Add a note, then click on "Approve".
61
Edit Asset Details
62
Click on "All Assets" under Catalog > Asset Catalog.
Learn more about the [Asset Catalog](https://docs.axway.com/bundle/amplify-central/page/docs/manageassetcatalog/index.html).
63
Click on an Asset.
64
Click on the edit icon.
65
In the Profile section, you can add a description and an image for your asset.
Click on "Next" when done.
66
In the Release Management section, you can configure the release setup and the option to archive previous versions.
67
In the Access Rights section, configure the ownership and sharing of your Product.
Click on "Next" when done.
68
Click on "Save & Exit".
69
Was this demo helpful?