
VRIFY
Schedule or cancel a VRIFY Meeting
Madeline Moir
Updated: Sep 11, 2024
Description
Click through a step-by-step, interactive demo walkthrough of Vrify, powered by Supademo.
Steps
1
To start, click on "Meetings".
2
Video step
3
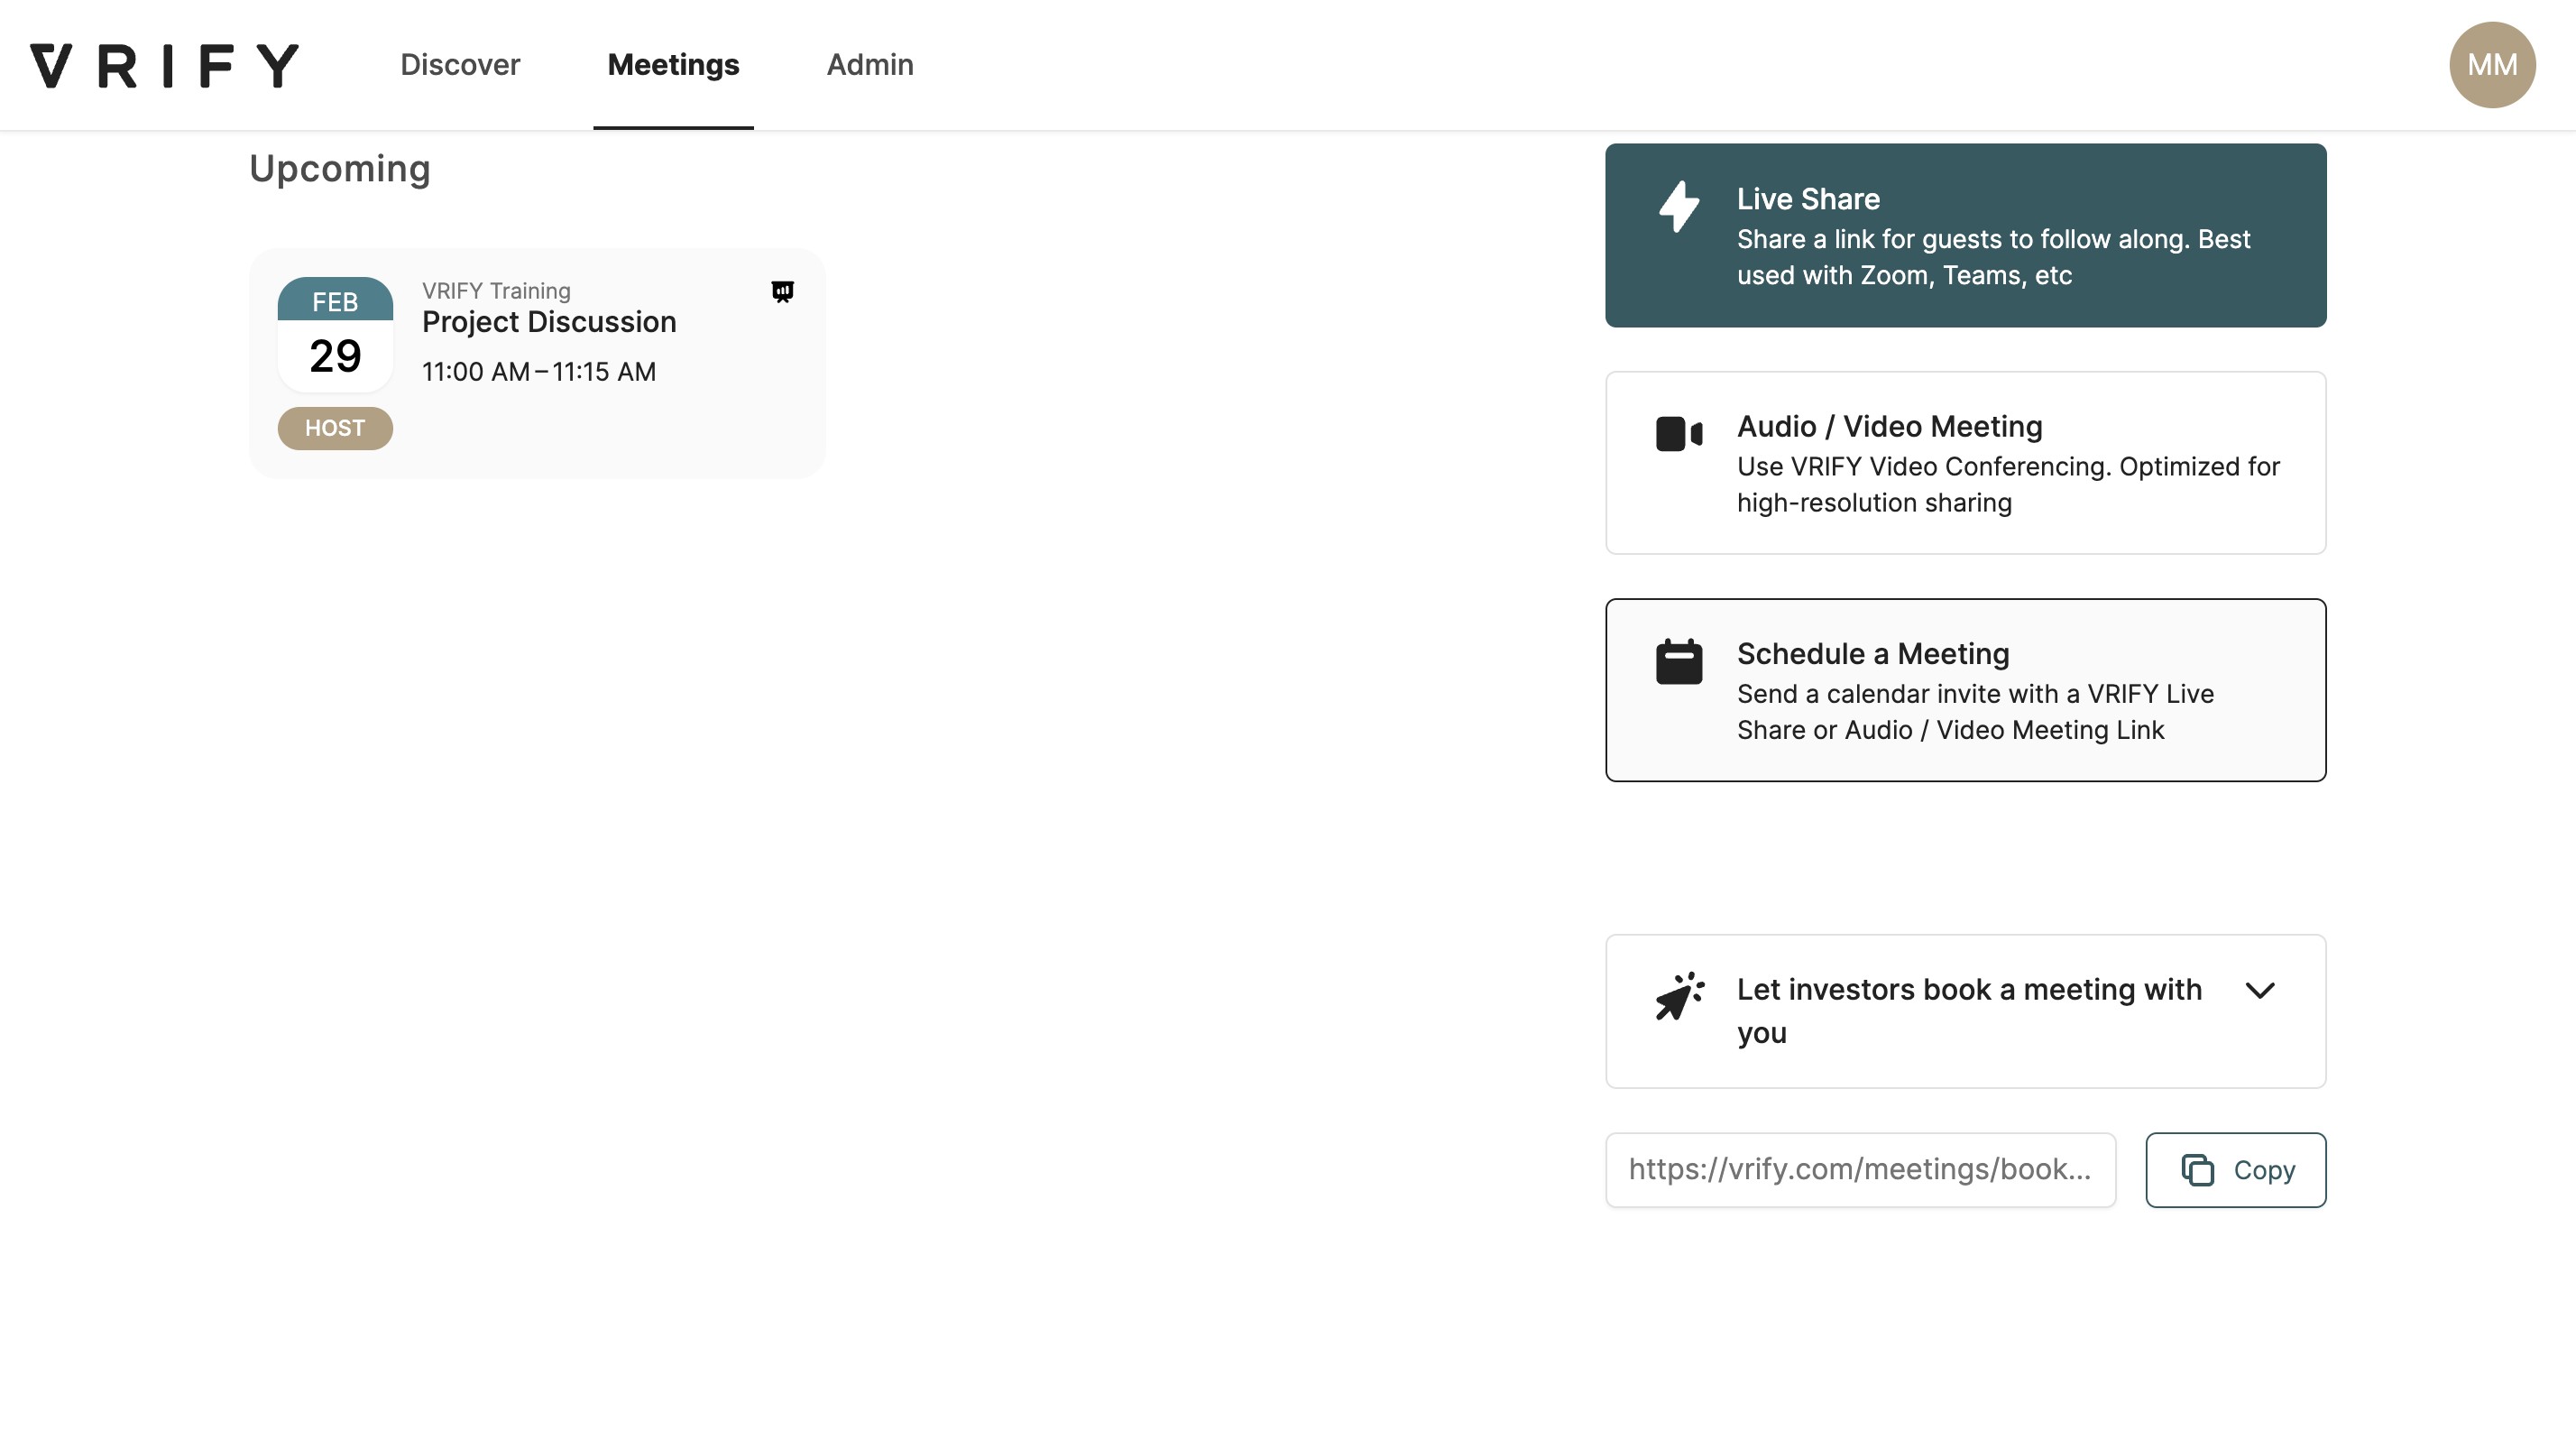
Click on "Schedule a Meeting".
4
Click on "Audio / Video Meeting" to schedule the meeting to use VRIFY Video Conferencing (recommended).
5
Alternatively, you can schedule the meeting with Live Share, which is best used with 3rd party conferencing software like Teams or Zoom.
6
Next, enter a title for your meeting.
7
Video step
8
Enter the email addresses of the participants you want to invite to your scheduled meeting.
9
Video step
10
Set a date for your meeting.
11
Now, set a start and end time for the meeting.
12
Here, you can add a description or meeting agenda.
13
Video step
14
Now, click on "Schedule".
Once scheduled, all participants will receive a meeting invite to the email addresses entered in the invite.
15
From the Meetings page, you can click on the meeting you scheduled to review the meeting details.
16
Video step
17
The Meeting Details will show the meeting's title, participants, description, and joining info.
18
You can copy the joining info by clicking "Copy to Clipboard".
19
You can edit the meeting details by clicking "Edit Meeting".
20
Video step
21
Here, you can edit any of the meeting details .
22
Alternatively, you can click "Cancel Meeting" to cancel the meeting. This will send a cancellation email notification to everyone on the participant list.
23
Click "Save Changes" to update your meeting invite.
Your participants will receive an email notification letting them know the meeting has been updated.
24
When it's time to start your meeting, click on the invite from the Upcoming meetings on the Meetings page.
25
Finally, click "Start Meeting".